|
by
kirupa | 29 July 2007
When you are displaying a large amount of information, the chances of you
actually displaying all of that information at one time are slim. More than
likely, you are using a control that allows you to display only parts of the
information with the option to view the rest in similar bite-sized chunks:
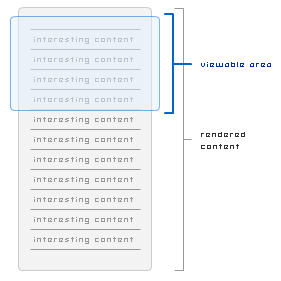
While visually you only see what is displayed in the viewable area, the rest
of your control's data is rendered in the background anyway. The problem with
this approach is that when dealing with large amounts of data, your control may
seem unresponsive initially while waiting for the content outside of the
viewable area to get processed.
A better approach is to only process the information that is loaded within
the viewable area:
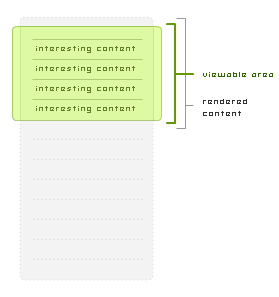
In this approach, even though your control is storing data that goes well
beyond just what is visible in the viewable area, you decide to process your
data on an as-needed basis as it enters your viewable area only. This approach
is known as UI virtualization.
Like you saw in the previous section, UI virtualization is where only your
viewable data is processed. In WPF, controls such as your listbox implement
virtualization, but some controls such as your combobox do not. In this
tutorial, you'll learn how to add virtualization support to a combobox.
Comboboxes are ideal candidates for virtualization because they, by design,
only display a subset of a large amount of information:
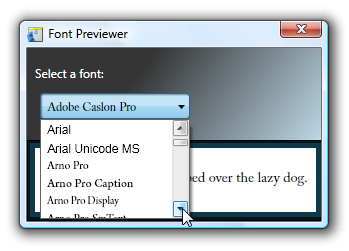
[ comboboxes display a small sample of a large amount of data ]
For this tutorial, instead of spending time recreating a scenario where your
combobox contains a lot of data, simply download, extract, and open a project I
have already created. Don't worry - you'll have to implement the virtualization
features yourself.
Let's get started:
- First, download the sample project
source files and extract the files to a location
on your computer:
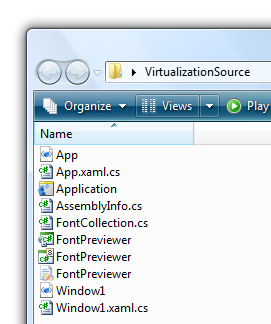
[ your extracted files ]
- Once you have extracted the files, open the FontPreviewer project in Blend.
Once you have opened your project, you will be instructed to Build your
project before seeing anything useful:
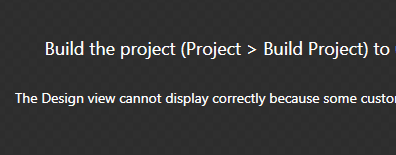
[ for certain projects, you will have to build the project before seeing
anything ]
Do as the instructions mention
and go to Project | Build Project. Once you have built the project, you will see
your Font Previewer project display in the Artboard:
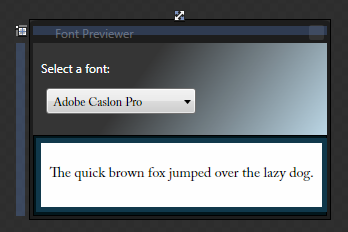
[ your font previewer application ]
- Your application consists of a few simple controls, and there
are some interesting behind the scenes stuff I covered in another tutorial.
Before proceeding, I want to highlight the performance issue you will be
fixing. Run your application by pressing F5.
Your Font Previewer application will run after a slight delay. Now, it's
time to see the performance problems associated with our combobox. Click on
the Select a font: drop down menu. When you click
on the drop-down menu for the first time, you'll notice that your combobox
takes a long time to display your list of items.
If your computer has a lot of fonts, your application may even seem to
freeze while all of the combobox's items are being processed:
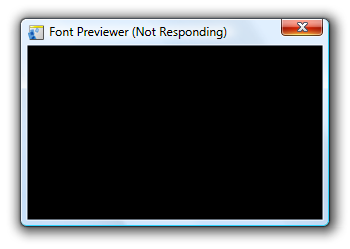
[ your application is frozen because of some work your combobox is doing ]
Despite your application seeming
to freeze, your application will work fine after a few seconds.
While your application
seeming to freeze for a few seconds may not seem
like a big deal, but it is minor details such as
this that separate good applications from great
ones. I want you to create great applications, so
let's pick up from the previous step and learn how
to fix this issue on the
next page.
Onwards to the
next page!
|


