|
by
kirupa | 16 April 2008
In the
previous page,
I explained why separating your project between a
XAP and a Web site project is useful. In this page,
let's figure out how to set up your solution to do
just that.
The
first approach we will look at for setting up your
XAP and Web site is when you get to create your
project anew. The easiest way is to use Visual
Studio. Launch Visual Studio, and go to File | New |
Project.
The New Project window
will appear. Under Project Types, select
Silverlight, and under Templates, select the
Silverlight Application template:
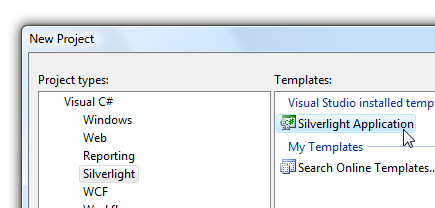
[ let's first create a new Silverlight Application ]
Click OK to go ahead
and create this Project. Once you have done that,
notice that another window will appear:
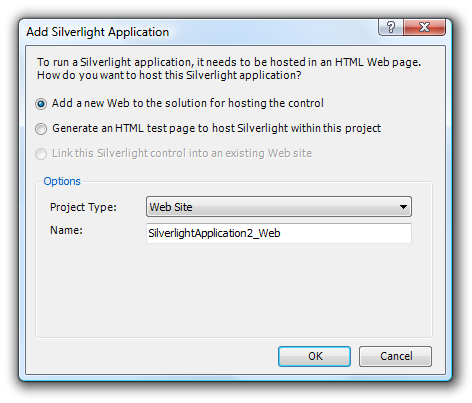
[ a window asking you how you want to host the
Silverlight Application ]
This window pretty
much sums up what you want to do. Notice that you
are given two options. One option is to add a new
Web site project to your solution, and the other
option is to generate an HTML test page.
Select the option for
"Add a new Web to the solution for hosting the
control", and press OK. After a few seconds, your
project will be setup, so take a look at your
Solution Explorer to see what exactly happened:
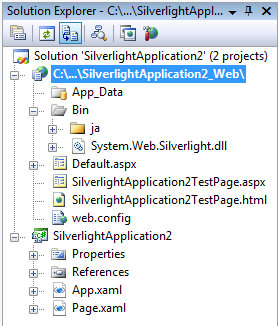
[ your Solution Explorer shows how your solution is
setup ]
To recap, you originally opted
to create a Silverlight project, but you also
selected the option to have a new Web site project
created as well. That is why you see both projects
now displayed in your solution. While this seems interesting, there
is a crucial detail that is missing from your Web
site project. That is the XAP itself. Where is it?
Because you just
created the project, the XAP hasn't been created
yet. Simply hit F6 or go to Build | Build Solution.
After a few seconds, notice that it makes an appearance
in your Web site:
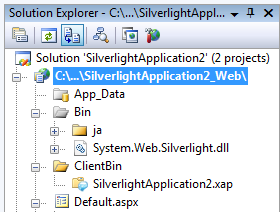
[ the ClientBin folder contains the output of your
Silverlight project ]
A ClientBin folder is
created for you, and inside that folder is your XAP
file. This XAP file is the output of what happened
when you built your Silverlight application, and
this is the only file that gets updated each time
you build. All of the other files simply stay the
same. Notice that you see a few ASPX pages along
with an HTML page inside your Web site project.
These files are preconfigured to load and display
your XAP in the browser, and you can make as many
modifications to your HTML pages as you want without
worrying about those changes being overwritten when
you build.
When you hit F5 (Debug
| Start Debugging), your ASPX page will run by
default. To change what particular HTML-like file
actually loads in your browser, right click on the
ASPX page or HTML file you want, and select the Set
as Start Page command:
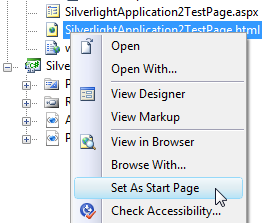
[ you can easily change what start page gets
displayed ]
This way, whenever you
hit F5, only the page you want to display in your
browser is launched.
Alright, we tackled
one of the two cases where you get to start a fresh
project and get both your Silverlight and Web site
projects setup. In the
next page, let's look at the
second case where you already have a Silverlight
project setup and want to add a Web site project
afterwards.
Onwards to the
next page!
|


