|
by
kirupa | 19 October 2008
Sooner or later, you
will find yourself wanting to display an image
inside your Silverlight application. The easy case
is where you add an image to your application
directly and have it be loaded as part of the
initial download. The default Silverlight preloader
will kick in, and at the end of the preload, your
image will be ready.
There will be many
cases, though, where you don't want your images to
be included as part of the XAP. If you want to load
your images on-demand as the user requests them, you
will have to write some code and handle the
preloading of the images yourself.
In this tutorial, you
will learn how to do just that - programmatically
loading an image and displaying the download progress
while the image is being downloaded. The following is an example of what
you will create:
Keep clicking the
Reload Image button to see the preloader kick-in and
the image display once the preloader indicates that
the download has finished.
There are two parts really to this tutorial. The
first part is in creating the UI such as what you
see above. The second part is writing the code that
actually loads your image.
This article discusses how to
create applications using Silverlight 2. If you do not know how to get started, the
Getting Started Page should help you get setup for Silverlight design and development.
Launch Expression
Blend 2 SP1, and create a new Silverlight 2
application:
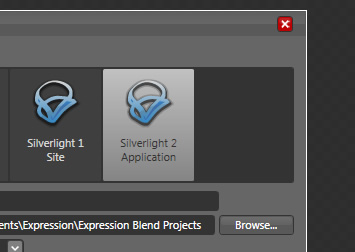
[ create a new Silverlight 2 Application in Blend ]
A few seconds later,
you will see your artboard, and it will be
completely blank. Right now, your application's
dimensions are pretty large. Change that by setting
your application's size to 400 and
300.
Once you have done
this, it is time to populate your application with
some UI. I am not going to go into great detail on
how to create the UI, for it isn't what this
tutorial is about. Instead, the following diagram
should give you the approximate placement and type
of each control you will be adding:
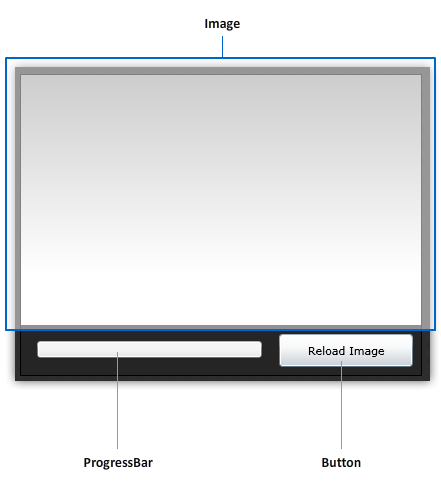
I have a few
rectangles added for aesthetic appeal, but it isn't
essential. Once you have added the controls, it is
time to give them a name. Your Image control's name
will be imageControl, your Button
will be called reloadImageButton,
and your ProgressBar will be called
progressBar. I know the names aren't very
creative, but they work for now.
Your object tree
should similar to what you see below (sans the
Rectangle):
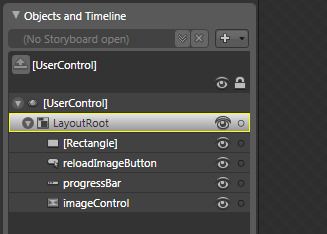
[ what your object tree should look similar to ]
For reference, I have
included the source files for this project up until
this point where just the UI has been created. Download them from the
following link:
Don't worry, the above
source files don't contain anything beyond just the
UI that you see above. The interesting stuff you
will have to add yourself...starting at the next
page!
Onwards to the
next page!
|


