 Tutorials
Books
Videos
Forums
Tutorials
Books
Videos
Forums


In this tutorial we will create an animated button similar to the one found on my site. Before reading this tutorial Launch FLASH and make sure your frame rate is at 30fps. You can edit the movie properties by going to Modify>movie. Lets begin...
Step 1.
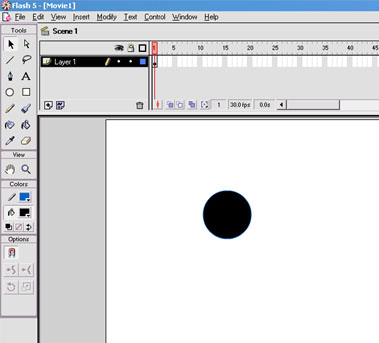
[click image for larger picture]
-First Begin by creating a circle on the Main stage. It should look something like image above.
Step 2.
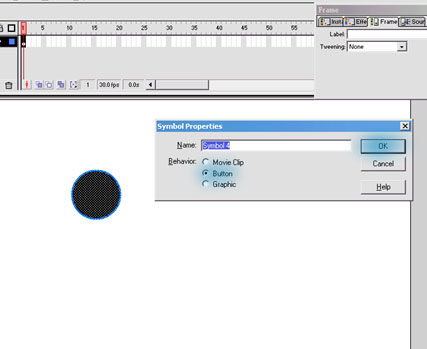
[click image for larger picture]
- Once you have your circle drawn we need to make it into a button. We do this by selecting the button and pressing F8. This will bring up the symbol properties. Chose button and click "OK".
Step 3.
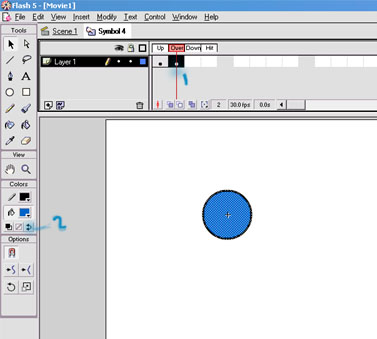
[click image for larger picture]
- Double clicking the button will allows into the edit mode. We first we insert a key frame in the "over frame" by pressing F6 or right clicking on the"over frame" and choosing insert key frame. Next we need to reverse the colors by clicking on the "reverse color" button as is shown in the image above.
Step 4.
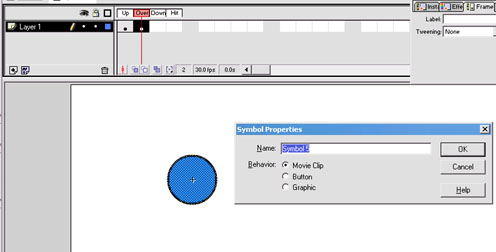
[click image for larger picture]
-Select the circle who's colors you just reversed and convert it to a Movie Clipby pressing F8. Double click on the symbol to edit the movie clip. Select the Circle once more press F8 and Choose "graphic".
Step 5.
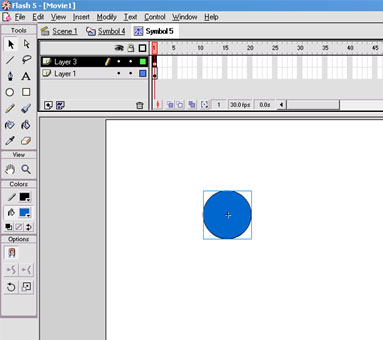
[click image for larger picture]-Select the graphic and go to Edit>copy. Create another layer in the timeline by going to Insert>layer. Click on the first frame of the newly created layer and go to Edit>paste in place.( Paste in place pastes our graphic in the same location it was when we first copied it.).
Step 6.

[click image for larger picture]
- Click on frame 15 and insert a frame by pressing F5.( Do this for both layers). Next insert a key frame on frames 8 and 15 of the upper layer. Go to frame 8 and select on the "scale" button from the toolbar. Increase the size of the circle until its about twice as big.
Step 7.

[click image for larger picture]
-Once you have scaled the circle to a desired size go to Modify>instance.Chose the "effect" tab from the instance panel. Select "Alpha" from the scrollmenu and change the Alpha to 19%.
Step 8.
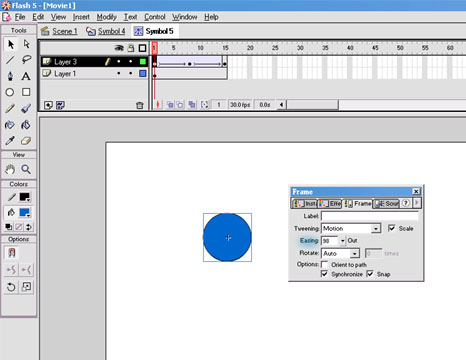
[click image for larger picture]
-Select frame 1 and click on the "frame" tab of the instance cannel. Set the tween type to motion and set the "easing" to 100. Then click on frame 8 and chose "motion" as the Tween type and set the easing to -100.
The final animation should like this:
Just a final word before we wrap up. What you've seen here is freshly baked content without added preservatives, artificial intelligence, ads, and algorithm-driven doodads. A huge thank you to all of you who buy kirupa's books, became a paid subscriber, watch the videos, and/or interact on the forums.
Your support keeps this site going! 😇

:: Copyright KIRUPA 2026 //--