|
by kirupa |
7 March
2007
In my earlier
tutorial, I talked about event handlers and
how to use them. I did not go into great detail, because in
many cases, your Integrated Development Environment (IDE)
such as Visual Studio takes care of both binding an event to
an event handler as well as creating the event handler if
necessary. In most cases, the code the IDE provides for you
is all you really need to detect the events. But...there are
times when you need to go beyond what the IDE provides and
write some code yourself.
In this article, I will focus on dealing with keyboard
input. Your IDE will easily allow you to have an event
handler bound to a keyboard-related event, but beyond that,
though, you are on your own. That is where this tutorial
comes in. I will first explain how to detect individual keys
and then move on to the fun topic of how to handle key combinations such as Alt + F4,
Ctrl + S, etc.
So, before we continue, you should
download KeyboardEvents.zip for this tutorial, extract
the files to your hard drive, and open the project up in Visual Studio. Don't worry -
the interesting stuff hasn't been filled in. You'll do that
yourself with help from this tutorial, for only the code
unrelated to using keyboard input have already been written
for you.
After you have downloaded and extracted (unzipped) the
files from
KeyboardEvents.zip to a location on your hard drive, open the
KeyboardEvents solution in Visual Studio. When you open the
Window1.xaml.cs file, you should see the following code:
- namespace
KeyboardEvents
- {
- public
partial
class
Window1
- {
- public
Window1()
- {
- this.InitializeComponent();
-
- // Insert code
required on object creation below this
point.
- }
-
- private
void
KeyUpEventHandler(object
sender,
KeyEventArgs
e)
- {
-
- }
-
- private
void
KeyDownEventHandler(object
sender,
KeyEventArgs
e)
- {
-
- }
- }
- }
If you press F5 to run your application, you should then see
the following:
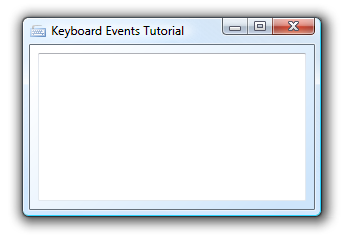
[ what your application looks like ]
Your application is nothing more than a window with
a textbox. When you type something in your textbox, though,
the two event handlers in your code get fired because your
XAML definition maps the KeyDown and KeyUp events to the
KeyUpEventHandler and KeyDownEventHandler event handlers in
the code-behind file Window1.xaml.cs:
- <TextBox
Margin="8,8,8,8"
x:Name="txtMain"
AcceptsReturn="True"
AcceptsTab="True"
Text=""
TextWrapping="Wrap"
KeyDown="KeyDownEventHanlder"
KeyUp="KeyUpEventHanlder"
VerticalScrollBarVisibility="Auto"/>
By now, you should have a good idea of what event
handlers (see
Event
Handler tutorial), so I will not focus too much on the
files you downloaded. Instead, this tutorial will help you write some code in your event
handlers to learn how to deal with keyboard input.
Over the next few pages, I will provide some code and
explain how to perform common actions that you would
normally want to do when writing an application that depends
heavily on keyboard input.
|


