|
by
kirupa | 19 May 2008
One of the improvements made in AS3 is how you load external content into
your application. Some of the new changes make it easier for you to initiate and
measure the progress of a download - something which was always a bit of a
challenge in the AS2 world.
In this article, I will describe how to load an external
image into a movie clip in a Flash CS3 application. The
following is an example of what you will create towards the
end of this tutorial:
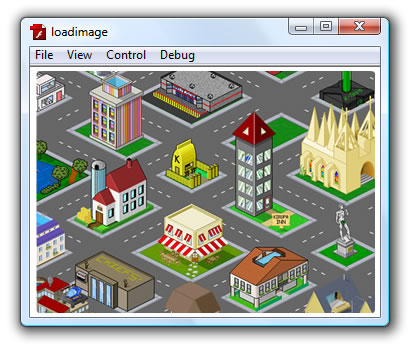
[ picture taken from the city formerly known as
kirupaVille! ]
In the above example, when you run, an image stored in
the same folder as the SWF is loaded and displayed. I know
it is hard to see that, but don't worry, for you will be
able to display this very quickly on your own computer very
quickly.
The
following steps will help you create a small application
that loads an image file from an external location:
- First, create a new Flash CS3 application and save
this application as loadimage.
For this
article, the size of your stage, the background color,
etc. are not that important, so feel free to leave
everything at the default settings if you want.
- Let's add a movie clip that will host your loaded
image. Go to Insert | New Symbol or press Ctrl + F8 to
display the Create New Symbol dialog. From this dialog,
give your new symbol the name ImageClip
and make sure the Movie Clip option is selected:
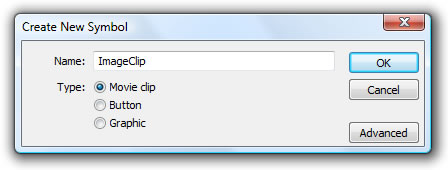
[ create a new Movie Clip called ImageClip ]
Once everything is set, press OK to close
this dialog and to create your new ImageClip movie clip
symbol.
- You will now be in the editing view for
your newly created ImageClip. We really don't want to do
anything to this clip, so exit out of ImageClip and
return to Scene 1 by clicking the Scene 1 link in the
navigation bar:
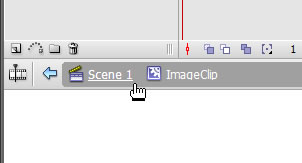
[ click on Scene 1 to go back to your main scene ]
- You should be back in your main Scene 1
view. Now, we created new ImageClip symbol, but we
haven't actually added it to our scene. From the
Library, drag and drop your ImageClip movie clip into
your scene:
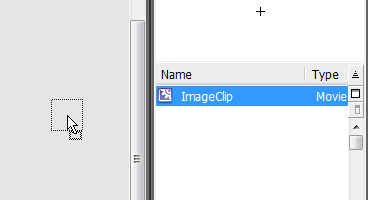
[ insert your ImageClip movie into your main scene ]
Once you have inserted ImageClip into your
scene, you shouldn't see anything outside of the little
circle representing your empty movie clip:
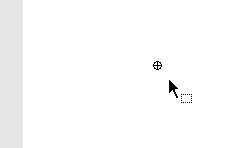
[ an empty movie clip is represented by a hollow circle ]
- Make sure the hollow circle representing
ImageClip is selected, and from the Properties panel,
give your selected ImageClip instance the name
imageArea:
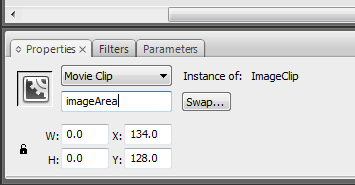
[ give your movie clip the instance name imageArea
]
All right - you are done with the UI part of this
tutorial. In the last five steps, all you really did was
create a new empty movie clip that you dragged to your scene
and gave it the instance name imageArea. In the
next page, let's go further.
Onwards to the
next page!
|


