Table of Contents

When you are building your apps, thinking in terms of props, state, components, JSX tags, render methods, and other React-isms may be the last thing on your mind. Most of the time, you are dealing with data in the form of JSON objects, arrays, and other data structures that have no knowledge (nor interest) in React or anything visual. Bridging the gulf between your data and what you eventually see can be frustrating! Not to worry, though. This article will help reduce some of those frustrating moments by running through some common scenarios you'll encounter!
Onwards!

To kick your React skills up a few notches, everything you see here and more (with all its casual clarity!) is available in both paperback and digital editions.
BUY ON AMAZONTo help make sense of everything you are about to see, we are going to need an example. It's nothing too complicated, so go ahead and create a new HTML document and throw the following stuff into it:
<!DOCTYPE html>
<html>

<head>
  <meta charset="utf-8">
  <title>From Data to UI</title>
  <script src="https://unpkg.com/react@16/umd/react.development.js"></script>
  <script src="https://unpkg.com/react-dom@16/umd/react-dom.development.js"></script>
  <script src="https://unpkg.com/[email protected]/babel.min.js"></script>

  <style>
    #container {
      padding: 50px;
      background-color: #FFF;
    }
  </style>
</head>

<body>
  <div id="container"></div>

  <script type="text/babel">
    class Circle extends React.Component {
      render() {
        var circleStyle = {
          padding: 10,
          margin: 20,
          display: "inline-block",
          backgroundColor: this.props.bgColor,
          borderRadius: "50%",
          width: 100,
          height: 100
        };

        return (
          <div style={circleStyle}>
          </div>
        );
      }
    }

    ReactDOM.render(
      <div>
        <Circle bgColor="#F9C240" />
      </div>,
      document.querySelector("#container")
    );
  </script>
</body>

</html>
Once you have your document setup, go ahead and preview what you have in your browser. If everything went well, you will be greeted by a happy yellow circle:
If you see what I see, great! Now, let's take a moment to understand what our example is doing. The bulk of what you see comes from the Circle component:
class Circle extends React.Component {
  render() {
    var circleStyle = {
      padding: 10,
      margin: 20,
      display: "inline-block",
      backgroundColor: this.props.bgColor,
      borderRadius: "50%",
      width: 100,
      height: 100
    };

    return (
      <div style={circleStyle}>
      </div>
    );
  }
}
It is mostly made up of our circleStyle object that contains the inline style properties that turn our boring div into an awesome circle. All the style values are hard-coded except for the backgroundColor property. It takes its value from the bgColor prop that gets passed in.
Going beyond our component, the way we ultimately display our circle is via our usual ReactDOM.render method:
ReactDOM.render(
  <div>
    <Circle bgColor="#F9C240"/>
  </div>,
  document.querySelector("#container")
);
We have a single instance of our Circle component declared, and we declare it with the bgColor prop set to the color we want our circle to appear in. Now, having our Circle component be defined as-is inside our render method is a bit limiting - especially if you are going to be dealing with data that could affect what our Circle component does. In the next couple of sections, we'll look at the ways we have for solving that.
In the Meet JSX...Again tutorial, we learned that our JSX can actually live outside of a render function and can be used as a value assigned to a variable or property. For example, we can fearlessly do something like this:
var theCircle = <Circle bgColor="#F9C240"/>

ReactDOM.render(
  <div>
    {theCircle}
  </div>,
  document.querySelector("#container")
);
The theCircle variable stores the JSX for instantiating our Circle component. Evaluating this variable inside our ReactDOM.render function results in a circle getting displayed. The end result is no different than what we had earlier, but having our Circle component instantiation freed from the shackles of the render method gives you more options to do crazy and cool things.
For example, you can go further and create a function that returns a Circle component:
function showCircle() {
  var colors = ["#393E41", "#E94F37", "#1C89BF", "#A1D363"];
  var ran = Math.floor(Math.random() * colors.length);

  // return a Circle with a randomly chosen color
  return <Circle bgColor={colors[ran]}/>;
}
In this case, the showCircle function returns a Circle component (boring!) with the value for the bgColor prop set to a random color value (awesomesauce!). To have our example use the showCircle function, all you have to do is evaluate it inside ReactDOM.render:
ReactDOM.render(
  <div>
    {showCircle()}
  </div>,
  document.querySelector("#container")
);
As long as the expression you are evaluating returns JSX, you can put pretty much anything you want inside the { and } brackets. That flexibility is really nice, because there is a lot of things you can do when your JavaScript lives outside of the render function. A LOT OF THINGS!
Now we are going to get to some fun stuff! When you are displaying multiple components, you won't always be able to manually specify them:
ReactDOM.render(
  <div>
    {showCircle()}
    {showCircle()}
    {showCircle()}
  </div>,
  document.querySelector("#container")
);
In many real-world scenarios, the number of components you display will be related to the number of items in an array or array-like (aka iterator) object you are working with. That brings along a few simple complications. For example, let's say that we have an array called colors that looks as follows:
var colors = ["#393E41", "#E94F37", "#1C89BF", "#A1D363",
              "#85FFC7", "#297373", "#FF8552", "#A40E4C"];
What we want to do is create a Circle component for each item in this array (and set the bgColor prop to the value of each array item). The way we are going to do this is by creating an array of Circle components:
var colors = ["#393E41", "#E94F37", "#1C89BF", "#A1D363",
              "#85FFC7", "#297373", "#FF8552", "#A40E4C"];

var renderData = [];

for (var i = 0; i < colors.length; i++) {
  renderData.push(<Circle bgColor={colors[i]}/>);
}
In this snippet, we populate our renderData array with Circle components just like we originally set out to do. So far so good. To display all of these components, React makes it very simple. Take a look at the highlighted line for all you have to do:
ReactDOM.render(
  <div>
    {renderData}
  </div>,
  document.querySelector("#container")
);
In our render method, all we do is specify our renderData array as an expression that we need to evaluate. We don't need to take any other step to go from an array of components to seeing something that looks like the following when you preview in your browser:
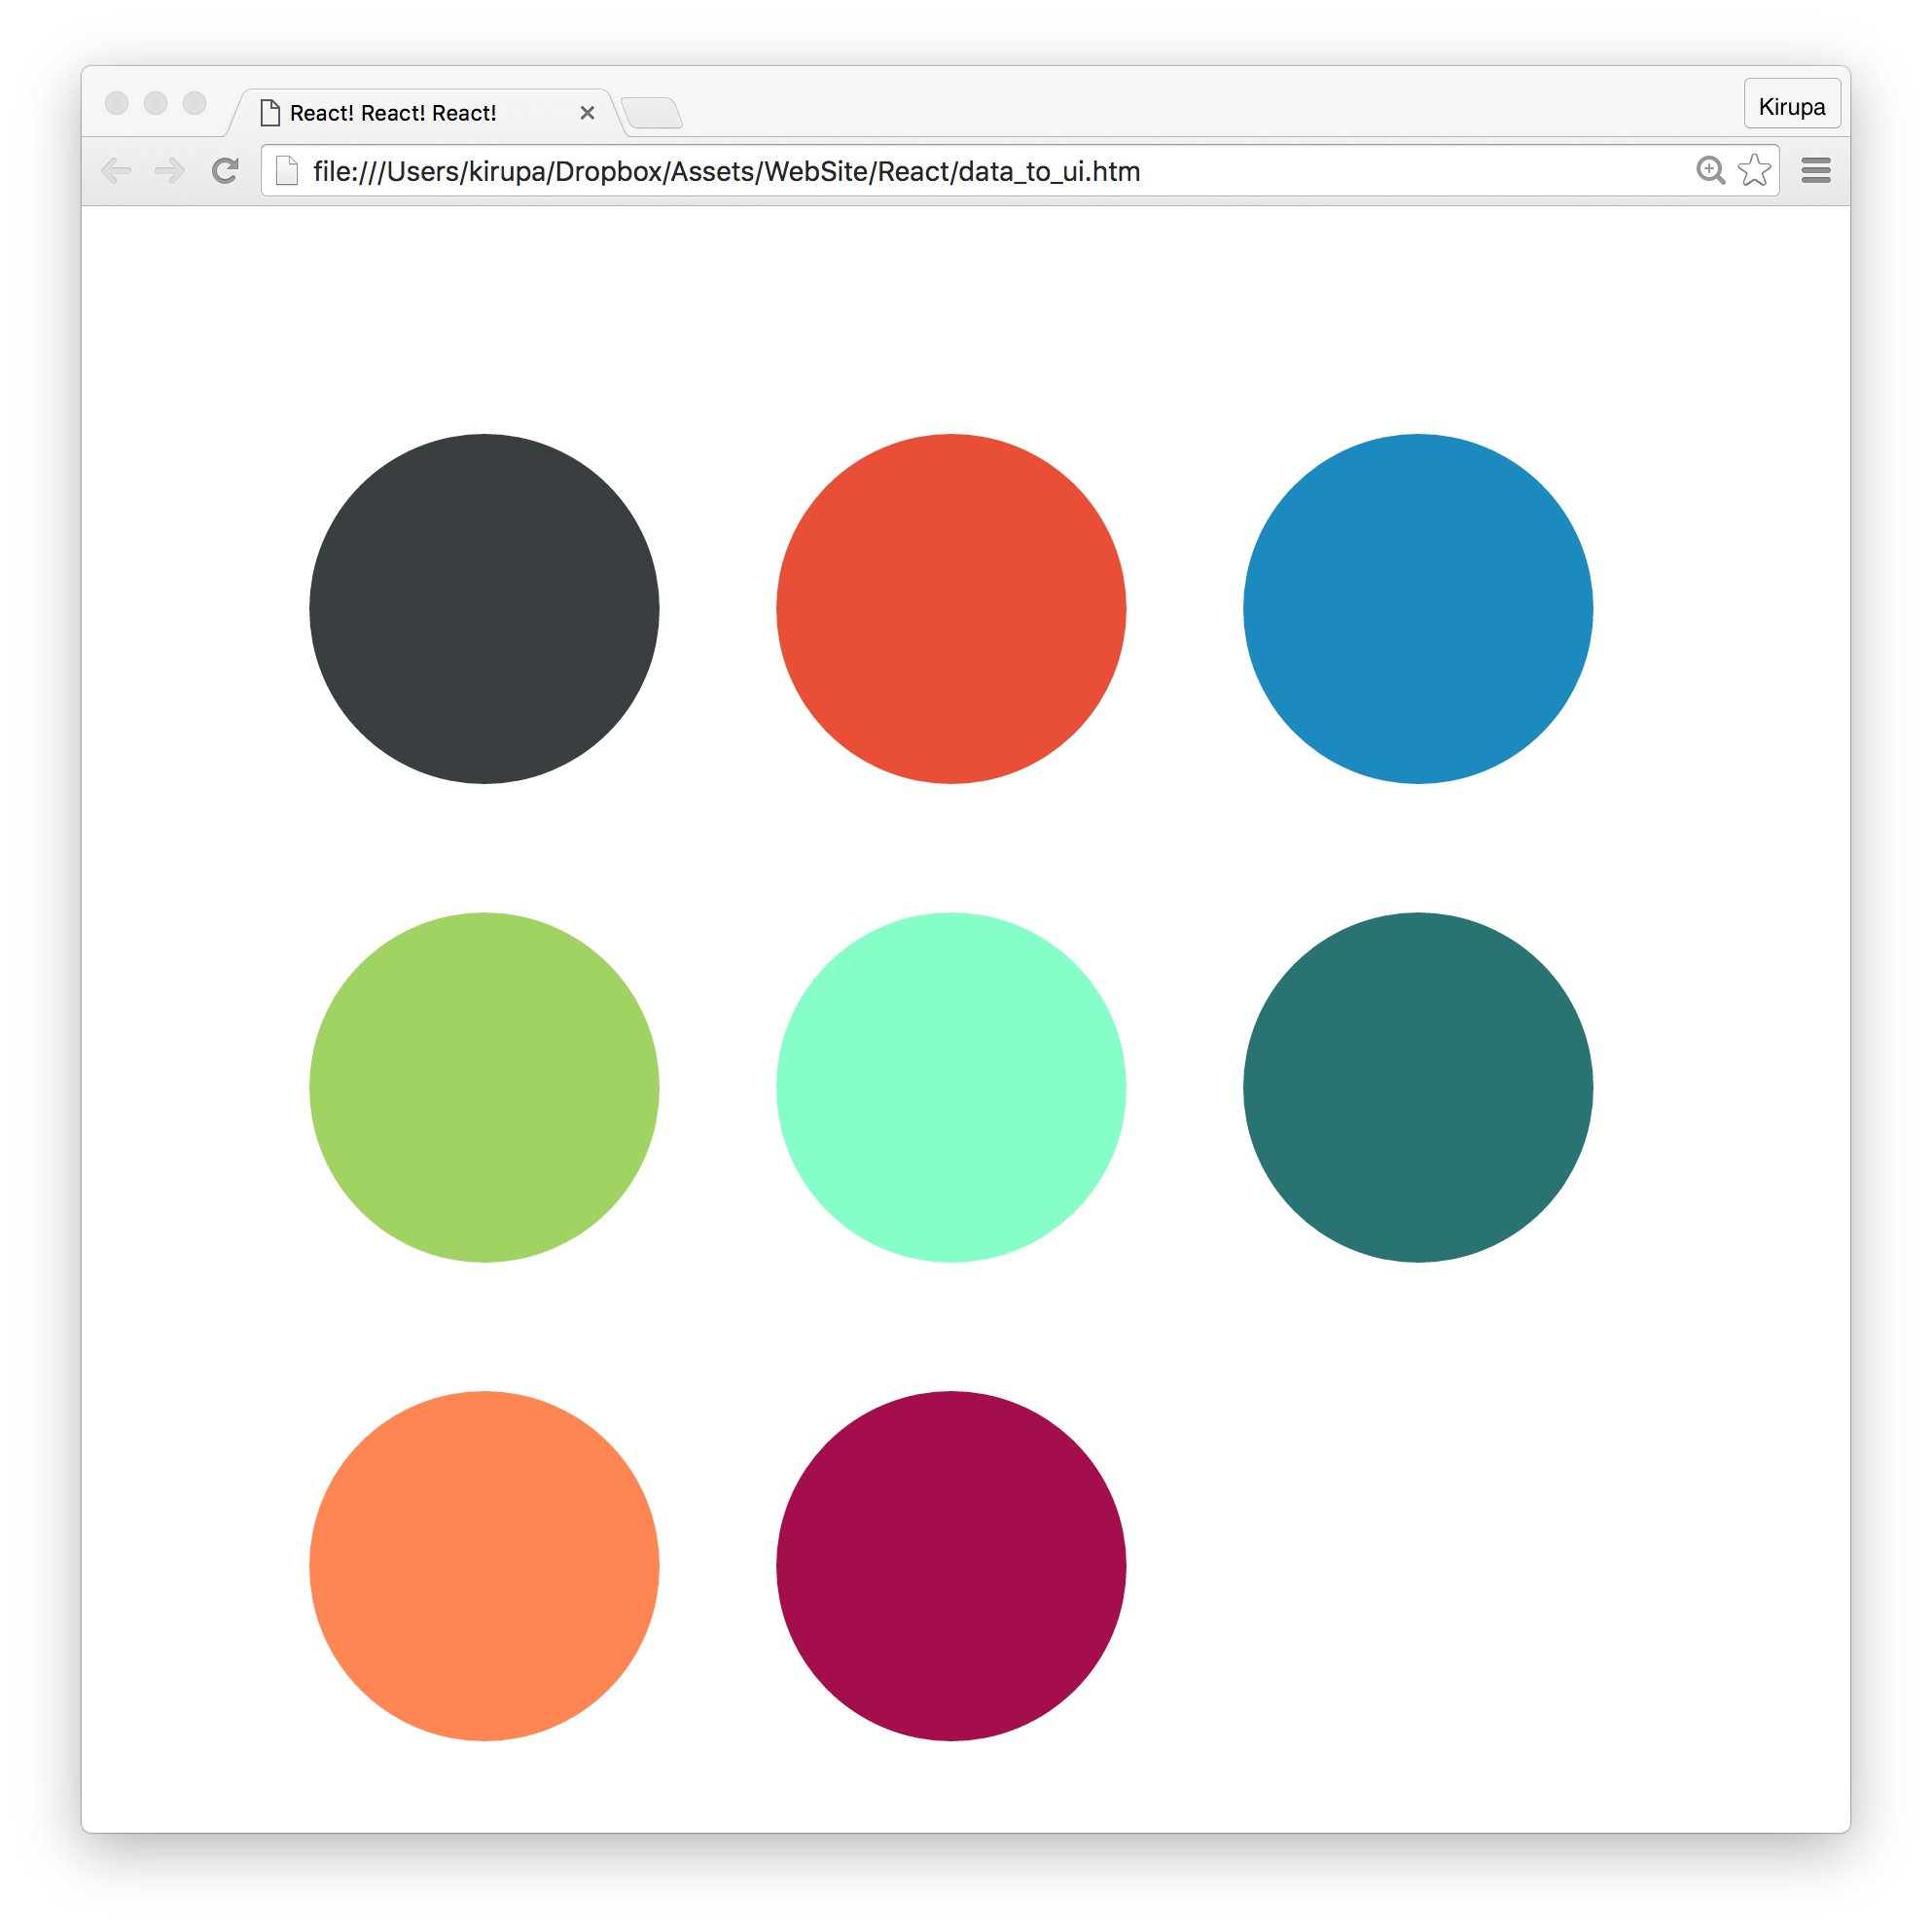
Ok, I lied. There is actually one more thing we need to do, and this is a subtle one. The way React makes UI updates really fast is by having a good idea of what exactly is going on in your DOM. It does this in several ways, but one really noticeable way is by internally marking each element with some sort of an identifier.
When you create elements dynamically (such as what we are doing with our array of Circle components), these identifiers are not automatically set. We need to do some extra work. That extra work takes the form of a key prop whose value React uses to uniquely identify each particular component.
For our example, we can do something like this:
for (var i = 0; i < colors.length; i++) {
  var color = colors[i];
  renderData.push(<Circle key={i + color} bgColor={color}/>);
}
On each component, we specify our key prop and set its value to a combination of color and index position inside the colors array. This ensures that each component we dynamically create ends up getting a unique identifier that React can then use to optimize any future UI updates.
React is really good at telling you when you might be doing something wrong. For example, if you dynamically create elements/components and don't specify a key prop on them, you will be greeted with the following warning in your console:
Warning: Each child in an array or iterator should have a unique "key" prop. Check the top-level render call using <div>.
When you are working with React, it is a good idea to periodically check your console for any messages it may have. Even if things seem to be working just fine, you'll never know what you might find :P
All the tips and tricks you've seen in this article are made possibly because of one thing: JSX is JavaScript. This is what allows you to have your JSX live wherever JavaScript thrives. To us, it looks like we are doing something absolutely bizarre when we specify something like this:
for (var i = 0; i < colors.length; i++) {
  var color = colors[i];
  renderData.push(<Circle key={i + color} bgColor={color}/>);
}
Even though we are pushing pieces of JSX to an array, just like magic, everything works in the end when renderData is evaluated inside our render method. I hate to sound like a broken record, but this is because what our browser ultimately sees looks like this:
for (var i = 0; i < colors.length; i++) {
  var color = colors[i];

  renderData.push(React.createElement(Circle,
    {
      key: i + color,
      bgColor: color
    }));
}
When our JSX gets converted into pure JS, everything makes sense again. This is what allows us to get away with putting our JSX in all sorts of uncomfortable (yet photogenic!) situations with our data and still get the end result we want! Because, in the end, it's all just JavaScript.
Next tutorial: The React Component Lifecycle
Just a final word before we wrap up. If you have a question and/or want to be part of a friendly, collaborative community of over 220k other developers like yourself, post on the forums for a quick response!
