[REACT](https://www.kirupa.com/react/index.htm)
[BOOK](https://www.amazon.com/exec/obidos/ASIN/0134546318/kirupacom)
# Accessing DOM Elements in React
by [ kirupa](https://www.kirupa.com/me/index.htm) | filed under [Learning React](https://www.kirupa.com/react/index.htm)
There will be times when you want to access properties and methods on an HTML element directly. In our React-colored world where JSX represents everything that is good and pure about markup, why would you ever want to directly deal with the horribleness that is HTML? As you will find out (if you haven't already), there are many cases where dealing with HTML elements through the JavaScript DOM API directly is easier than fiddling with "the React way" of doing things.
To highlight one such situation, take a look at the ***Colorizer*** example ([view in separate window](https://www.kirupa.com/react/examples/colorizer.htm)):
Your browser does not support inline frames or is currently configured not to display inline frames.
The ***Colorizer*** colorizes the (currently) white square with whatever color you provide it. To see it in action, enter a color value inside the text field and click/tap on the **go** button. If you don't have any idea of what color to enter, **yellow** is a good one! Once you have provided a color and submitted it, the white square will turn whatever color value you provided:
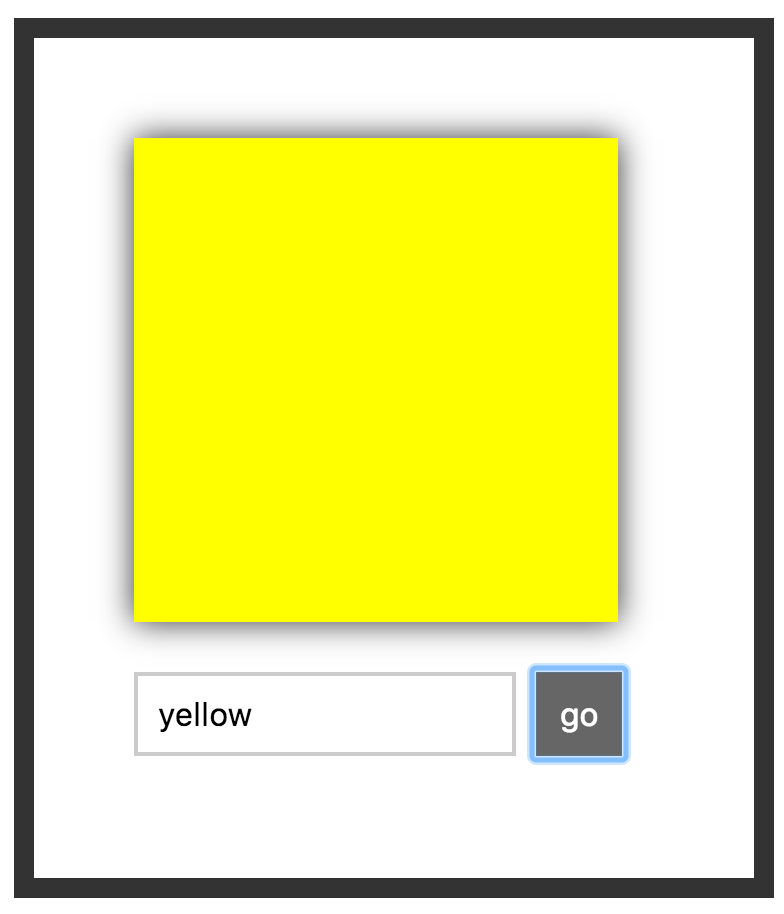
That the square changes color for any valid color value you submit is pretty awesome, but it isn't what I want you to focus on. Instead, pay attention to the text field and the button after you submit a value. Notice that the button gets focus, and the color value you just submitted is still displayed inside the form. If you want to enter another color value, you need to explicitly return focus to the text field and clear out whatever current value is present. Eww! That seems unnecessary, and we can do better than that from a usability point of view!
Now, wouldn't it be great if we could clear both the existing color value and return focus to the text field immediately after you submit a color? That would mean that if we submitted a color value of **purple**, what we would see afterwards would look as follows:
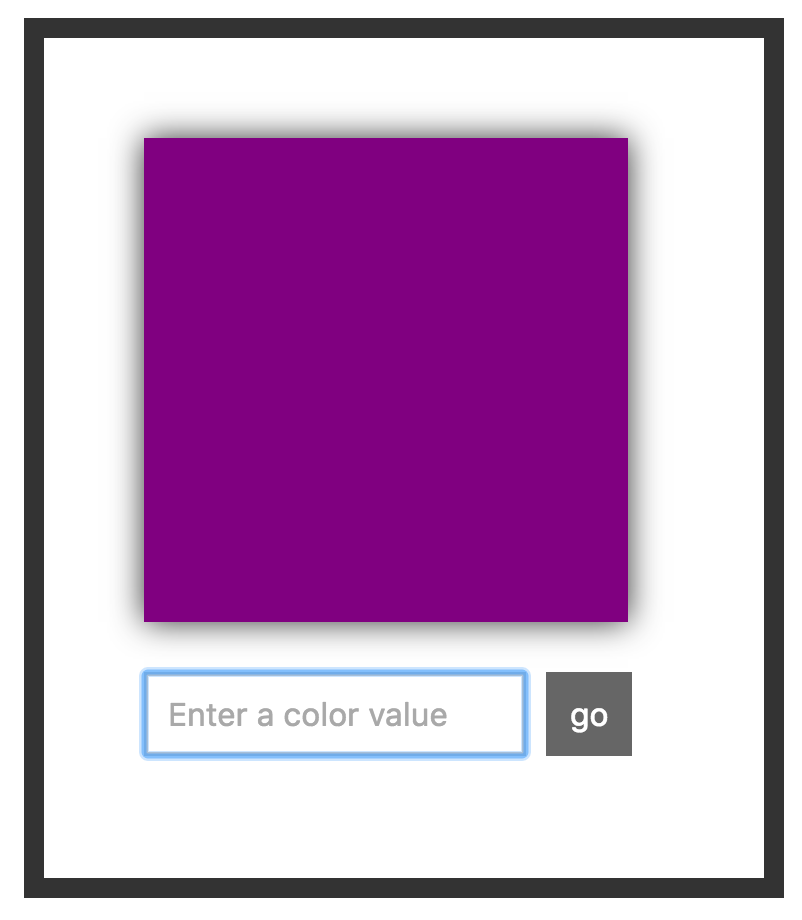
The entered value of **purple** is cleared, and the focus is returned to the text field. This allows us to enter additional color values and submit them easily without having to keep jumping focus back and forth between the text field and the button. Isn't that much nicer?
Getting this behavior right using JSX and traditional React techniques is hard. We aren't even going to bother with explaining how to go about that. Getting this behavior right by dealing with the JavaScript DOM API on various HTML elements directly is pretty easy. Guess what we are going to do? In the following sections, we are going to use something known as refs that React provides to help us access the DOM API on HTML elements. We'll also look at something known as portals that allow us to render content to any HTML element on the page.
Onwards!
## The Colorizer Example
To explain refs and portals, we'll be modifying the Colorizer example we saw earlier. The code for it looks as follows:
```js
The Colorizer!
```
Take a few moments to look through the code and see how it maps to what our example works. There shouldn't be anything surprising here. Once you've gotten a good understanding of this code, it's time for us to first learn about refs.
## Meet refs
As you know very well by now, inside our various `render` methods, we've been writing HTML-like things known as JSX. Our JSX is simply a description of what the DOM should look like. It doesn't represent actual HTML...despite looking a whole lot like it. Anyway, to provide a bridge between JSX and the final HTML elements in the DOM, React provides us with something funnily named known as `refs` (short for *references*).
The way `refs` works is a little odd. The easiest way to make sense of it is to just use it. Below is just the `render` method from our Colorizer example:
```js
render() {
var squareStyle = {
backgroundColor: this.state.bgColor
};
return (
);
}
```
Inside this `render` method, we are returning a big chunk of JSX representing (among other things) the `input` element where we enter our color value. What we want to do is access the `input` element's DOM representation so that we can call some APIs on it using JavaScript.
The way we do that using refs is by setting the `ref` attribute on the element we would like to reference the HTML of:
```js
render() {
var squareStyle = {
backgroundColor: this.state.bgColor
};
return (
);
}
```
Because we are interested in the `input` element, our `ref` attribute is attached to it. Right now, our `ref` attribute is empty. What you typically set as the `ref` attribute's value is a JavaScript callback function. This function gets called automatically when the component housing this `render` method gets mounted. If we set our `ref` attribute's value to a simple JavaScript function that stores a reference to the referenced DOM element, it would look something like the following highlighted lines:
```js
render() {
var squareStyle = {
backgroundColor: this.state.bgColor
};
var self = this;
return (
);
}
```
The end result of this code running once our component mounts is simple: we can access the HTML representing our `input` element from anywhere inside our component by using `self._input`. Take a few moments to see how the highlighted lines of code help do that. Once you are done, we'll walk through this code together.
First, our callback function looks as follows:
```js
function(el) {
self._input = el;
}
```
This anonymous function gets called when our component mounts, and a reference to the final HTML DOM element is passed in as an argument. We capture this argument using the `el` identifier, but you can use any name for this argument that you want. The body of this callback function simply sets a custom property called `_input` to the value of our DOM element. To ensure we create this property on our component, we use the `self` variable to create a closure where the `this` in question refers to our component as opposed to the callback function itself. Phew!
Now, let's focus on just what we can do now that we have access to our `input` element. Our goal is to clear the contents of our `input` element and give focus to it once the form gets submitted. The code for doing that will live in our `setNewColor` method, so add the following highlighted lines:
```js
setNewColor(e){
this.setState({
bgColor: this.state.color
});
this._input.focus();
this._input.value = "";
e.preventDefault();
}
```
By calling `this._input.value = ""`, we clear the color you entered. We set focus back to our `input` element by calling `this._input.focus()`. All of our `ref` related work was to simply enable these two lines where we needed some way to have `this._input` point to the HTML element representing our `input` element that we defined in JSX. Once we figured that out, we just call the `value` property and `focus` method the DOM API exposes on this element.
#### Simplifying Further with ES6 Arrow Functions
Learning React is hard enough, so I have tried to shy away from forcing you to use ES6 techniques by default. When it comes to working with the `ref` attribute, using arrow functions to deal with the callback function does simplify matters a bit. This is one of those cases where I recommend you use an ES6 technique.
As you saw a few moments ago, to assign a property on our component to the referenced HTML element, we did something like this:
```js
```
To deal with context shenanigans, we created a `self` variable initialized to `this` to ensure we created the `_input` property on our component. That seems unnecessarily messy.
Using arrow functions, we can simplify all of this down to just the following:
```js
this._input = el
}>
```
The end result is identical to what we spent all of this time looking at, and because of how arrow functions deal with context, you can use `this` inside the function body and reference the component without doing any extra work. No need for an outer `self` variable equivalent!
## Using Portals
There is one more DOM-related trick that you need to be aware of. So far, we've only been dealing with HTML in the context of what our JSX generates - either from a single component or combined through many components. This means we are limited by the DOM hierarchy our parent components impose on us. Having arbitrary access to any DOM element anywhere on the page doesn't seem like something we can do. Or can we? Well...as it turns out, you can! You can choose to render your JSX to any DOM element anywhere on the page. You aren't limited to just sending your JSX to a parent component! The magic behind this wizardry is a feature known as **portals**.
The way you use a portal is very similar to what we do with our `ReactDOM.render` method. We specify the JSX we want to render, and we specify the DOM element we want to render to. To see all of this in action, go back to our example and add the following `h1` element as a sibling just above where we have our **container** `div` element defined:
```js
Colorizer
.
.
.
```
Next, add the following style rule inside the `style` tag to make our `h1` element look nicer:
```css
#colorHeading {
padding: 0;
margin: 50px;
margin-bottom: -20px;
font-family: sans-serif;
}
```
With this style rule added, let's first preview our app to make sure that the HTML and CSS we added look as expected:
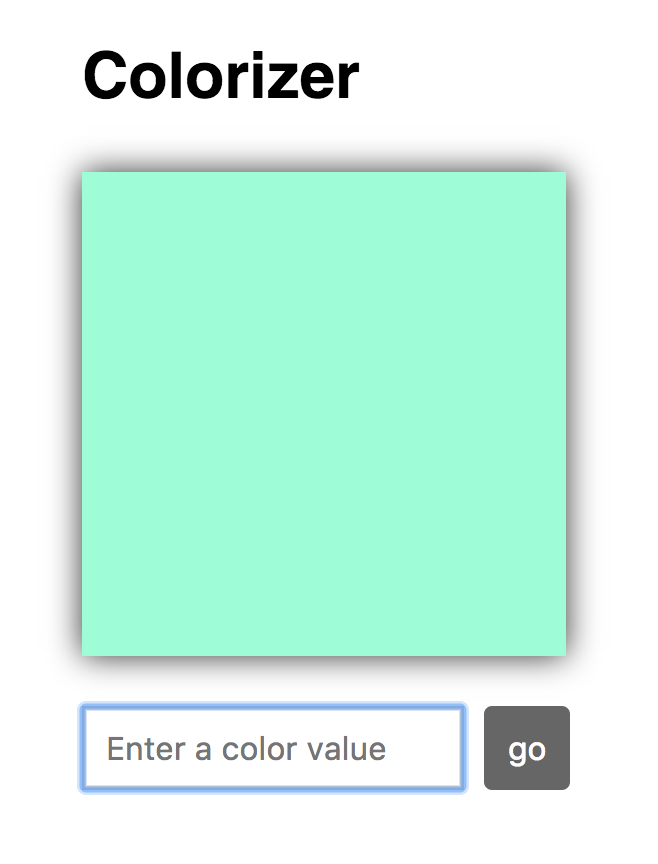
Here is what we want to do. We want change the value of our `h1` element to display the name of the color we are currently previewing. The point to emphasize is that our `h1` element is a sibling of our **container** `div` element where our app is set to render into.
To accomplish what we are trying to do, go back to our `Colorizer` component's `render` method and add the following highlighted line to the `return` statement:
```js
return (
);
```
What we are doing is instantiating a component called `ColorLabel` and declaring a prop called `color` with its value set to our `bgColor` state property. We haven't created this component yet, so to fix that, add the following lines just above where we have our `ReactDOM.render` call:
```js
var heading = document.querySelector("#colorHeading");
class ColorLabel extends React.Component {
render() {
return ReactDOM.createPortal(
": " + this.props.color,
heading
);
}
}
```
We are referencing our `h1` element with the `heading` variable. That's old stuff. For the new stuff, take a look at our `ColorLabel` component's `render` method. More specifically, notice what our `return` statement looks like. What we are returning is the result of calling `ReactDOM.createPortal()`:
```js
class ColorLabel extends React.Component {
render() {
return ReactDOM.createPortal(
": " + this.props.color,
heading
);
}
}
```
The `ReactDOM.createPortal()` method takes two arguments - the JSX to print and the DOM element to print that JSX to. The JSX we are printing is just some formatting characters and the color value we passed in as a prop:
```js
class ColorLabel extends React.Component {
render() {
return ReactDOM.createPortal(
": " + this.props.color,
heading
);
}
}
```
The DOM element we are printing all of this to is our `h1` element referenced by the `heading` variable:
```js
class ColorLabel extends React.Component {
render() {
return ReactDOM.createPortal(
": " + this.props.color,
heading
);
}
}
```
When you preview your app and change the color, notice what happens. The color we specified in our `input` element shows up in the heading:
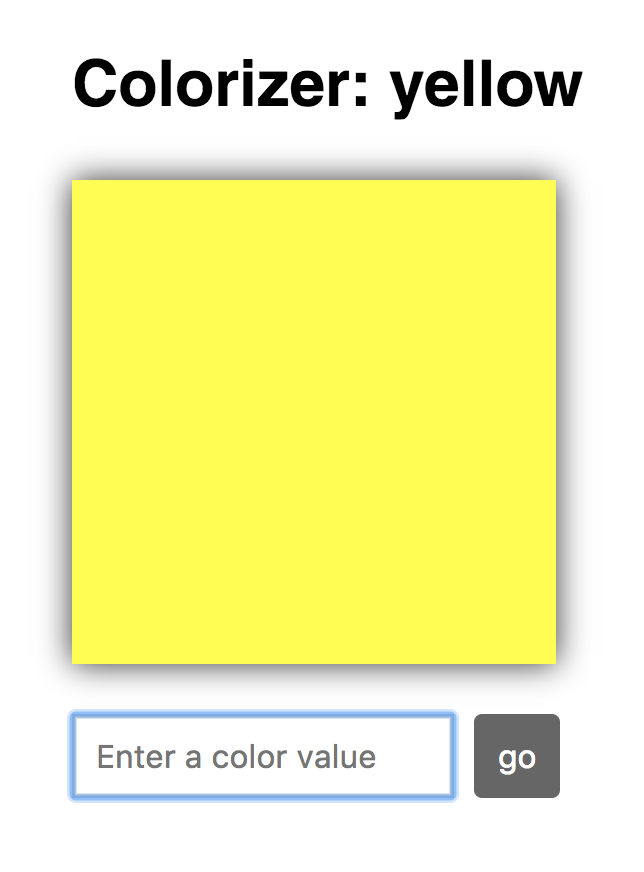
The important part to re-emphasize is that our `h1` element is outside the scope of our main React app which prints to our **container** `div` element. By relying on portals, we have direct access to any element in our page's DOM and can render content into it - bypassing the traditional parent/child hierarchy we've been living under so far!
## Conclusion
Most of the time, everything you want to do will be within arm's reach of the JSX you are writing. There will be times when you need to break free from the box React puts you in. Even though everything we are creating is rendering to a HTML document, our React app is like a self-sufficient tropical island within the document where you never quite see the actual HTML that is just beneath the sands. To help you both see the HTML inside the island and make contact with things that live outside of the island, we looked at two features, **refs** and **portals**. Refs allow you to cut through and access the underlying HTML element behind the JSX. Portals allow you to render your content to any element in the DOM you have access to. Between these two solutions, you should be able to easily address any need that you may have to deal with the DOM directly!
**Next tutorial:** [Events in React](https://www.kirupa.com/react/events_in_react.htm)