Table of Contents

If you have never built a web page before that uses HTML, CSS, and JavaScript and want a friendly introduction to all of it, this tutorial is for you!
Someone probably really wise once said, Every great journey starts with the first step. I may be a little bit biased, but learning web development is one of the greatest journeys I have ever embarked on. Maybe it will be for you as well. There is only one way to find out. Together, in a fun and casual way, we are going to build our first web page and get our feet wet with the bunch of things that play a role in making things show up inside our browser.
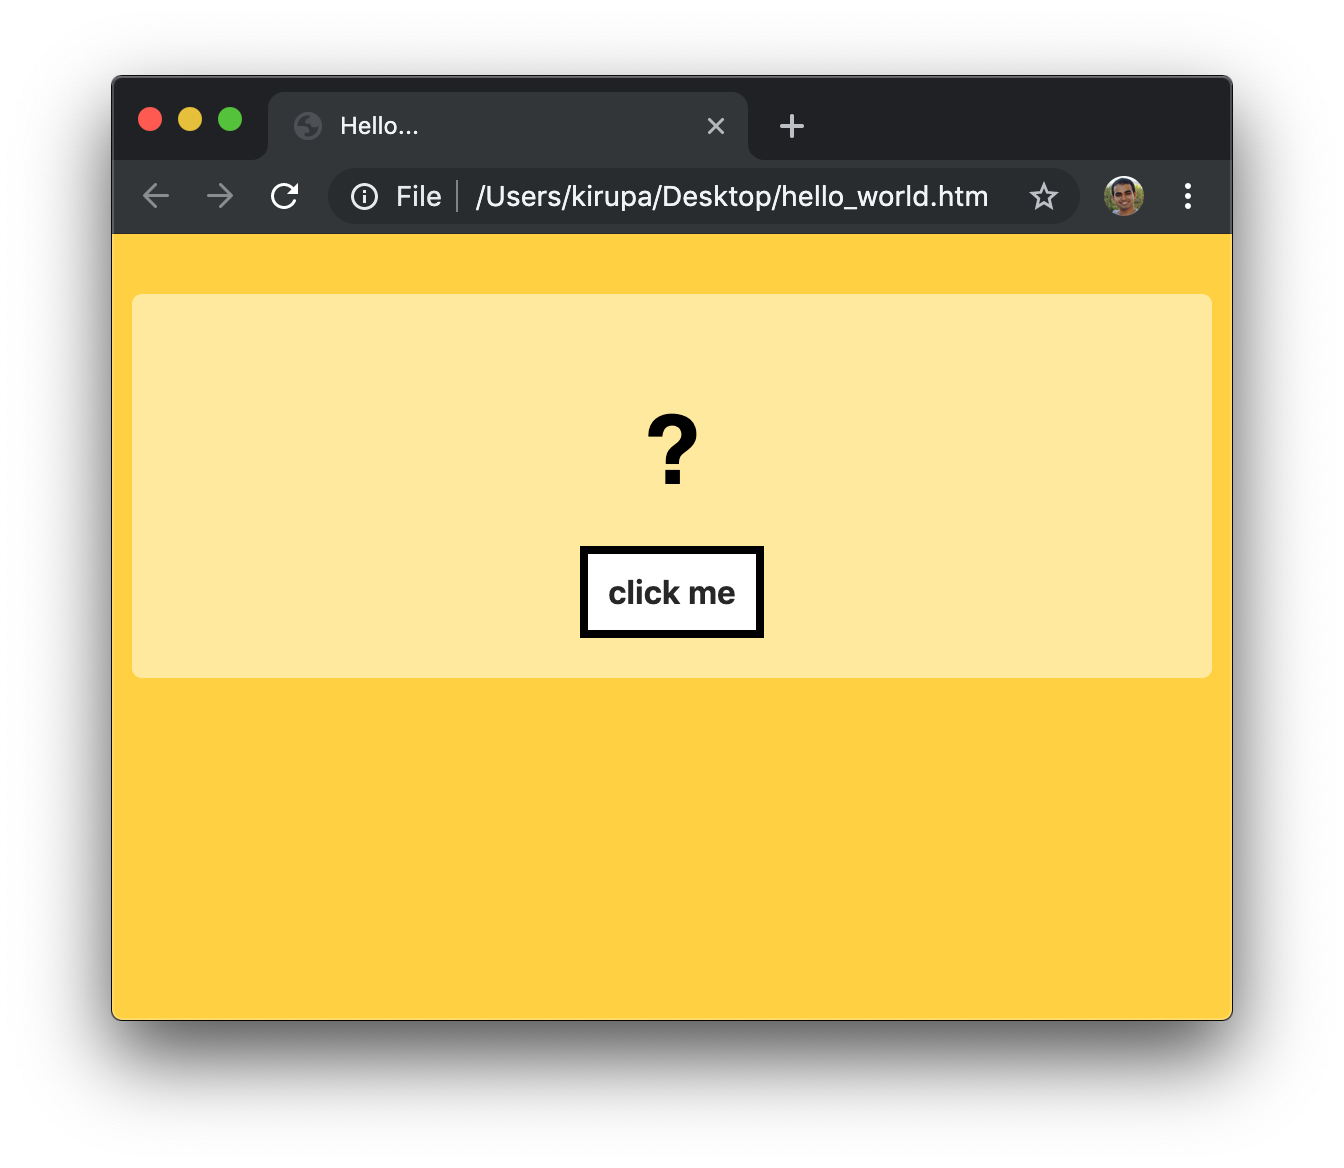
By the end, what we will have created is a page that looks as follows:
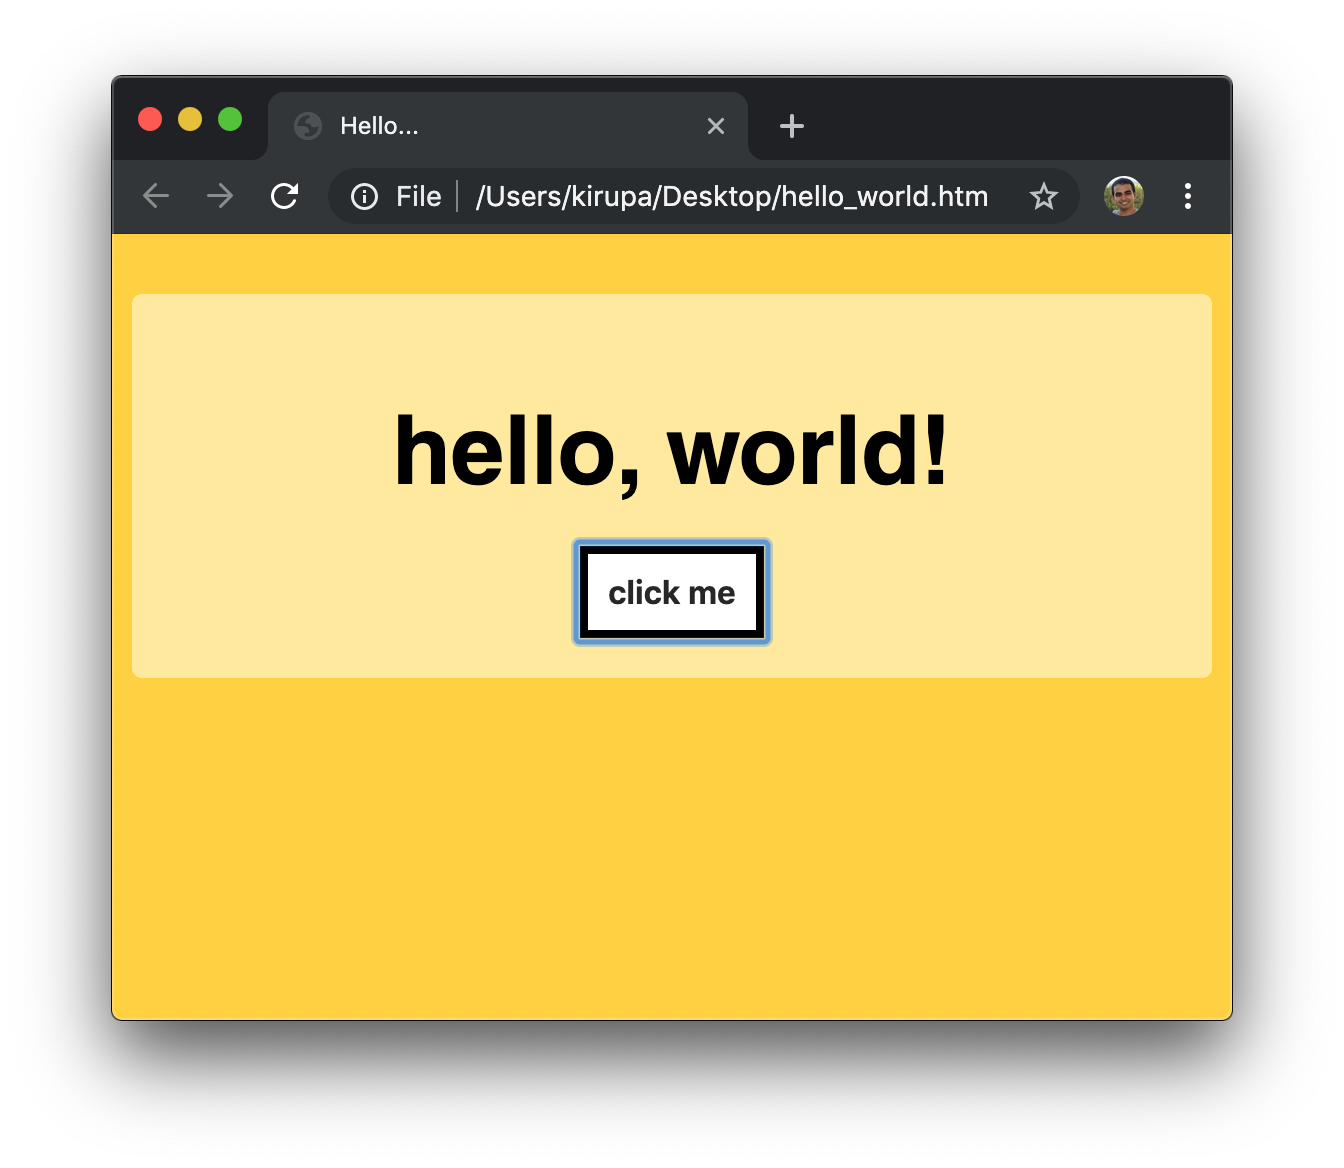
This page doesn't just stay static! When you click on the click me button, you'll see the words hello, world! appear:
Pretty cool, right? This isn't your typical introductory web page tutorial, for we are going to cover all the various pieces that a real web page will have. The goal isn't to expect you to understand every little detail of what is going on. Instead, the goal is to get you comfortable building a web page and dipping your feet into all the technical pieces involved.
Onwards!
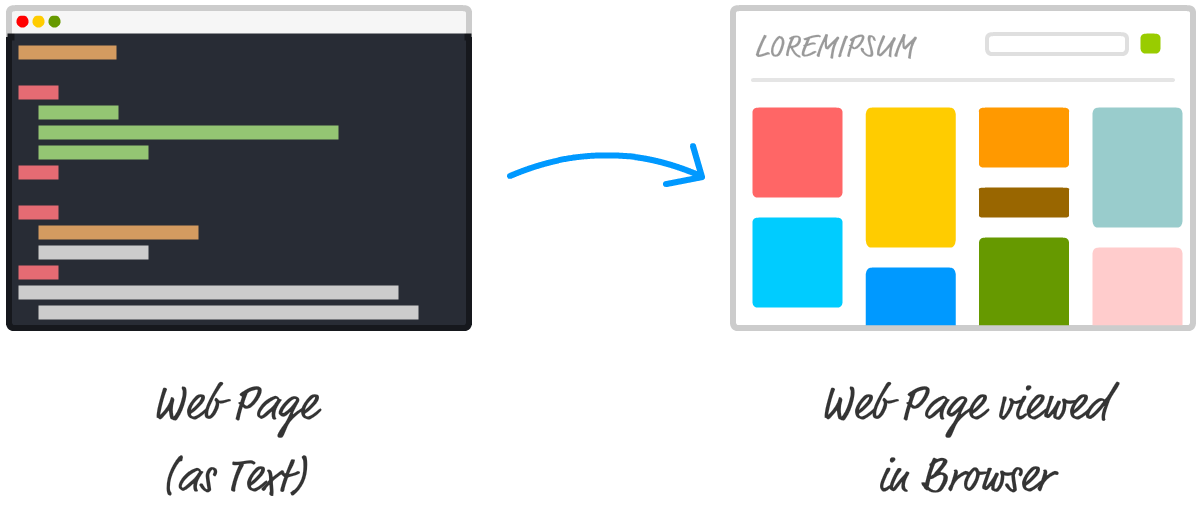
A web page is just a boring text file that our browser knows how to treat in a special way:
This means, to create a HTML page, all you basically need is a text editor. You can use something really simple like Notepad or Textedit that comes preinstalled as part of Windows or macOS, or you can use something more suited for web development like Visual Studio Code or Dreamweaver that comes with color coding, autocomplete, and other useful features that make working with text easier. If you don't have a preferred text or code editor handy, download and install Visual Studio Code. It's free and pretty awesome, and it's what I will be using to guide you through building a web page. This brings us to our first step.
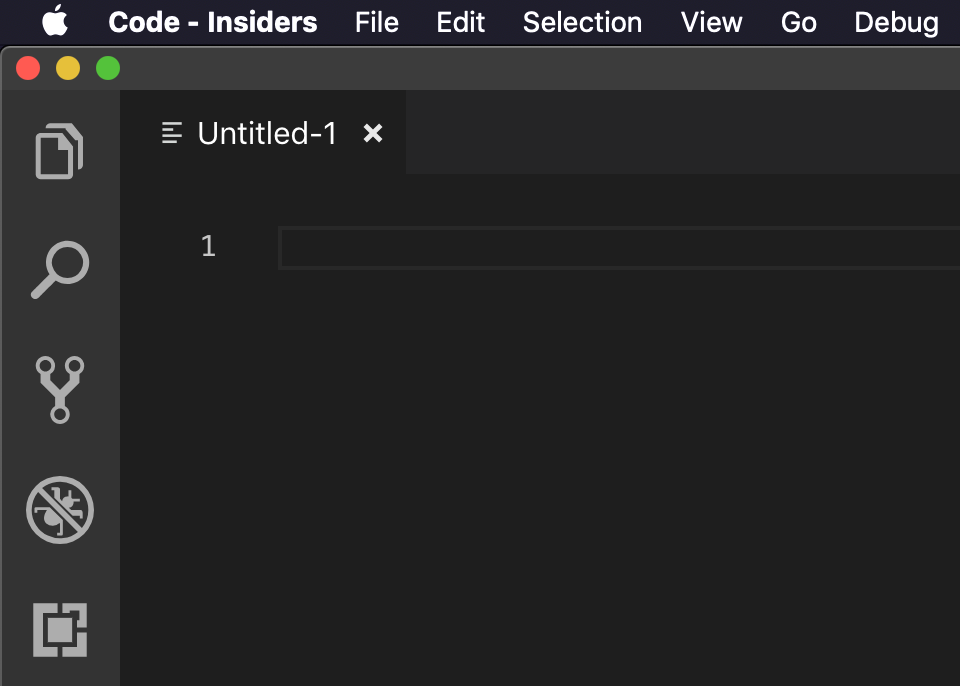
Launch Visual Studio Code and create a new file by going to File | New. You'll see an empty file created called Untitled-1 with a giant page-like area where you can type text:
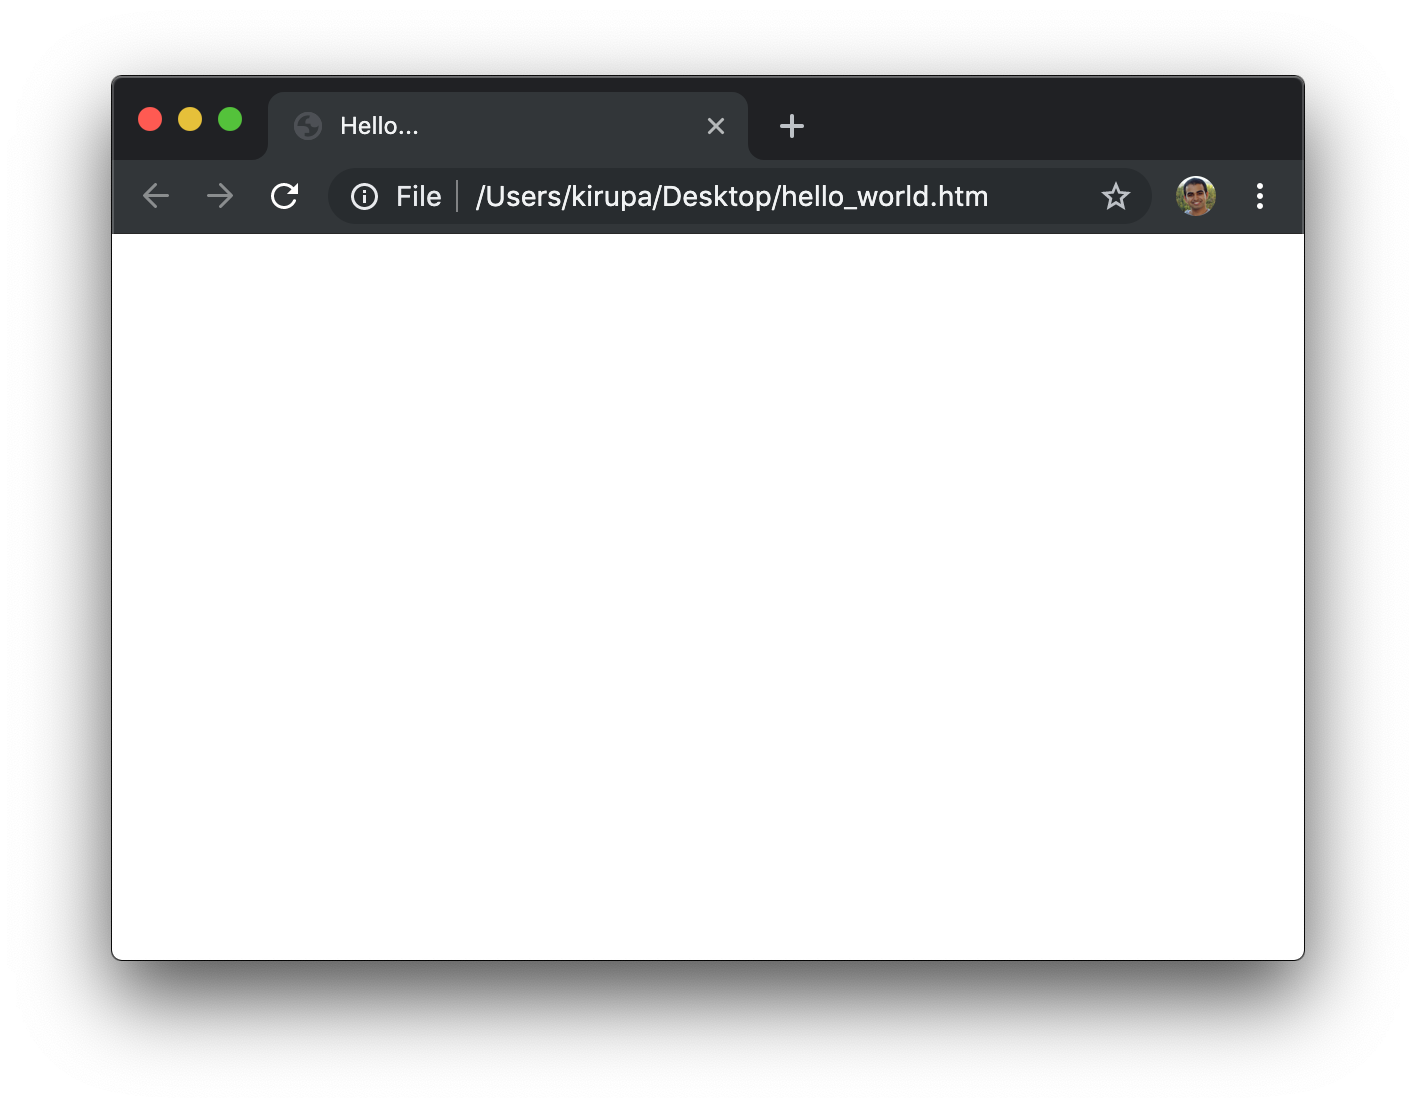
Save this newly created file by going to File | Save. You will be asked to give this file a name and specify where you would like to save it. Give this file the name hello_world.htm and save it to your Desktop. In either File Explorer or Finder, navigate to your Desktop folder and double double click on this newly saved file. You will see your default browser appearing and displaying the contents of hello_world.htm:
![]()
There isn't much to see here, for there is no content in our hello_world.htm file. It is still a blank document with a file extension of .htm. We will fix the blankness of our document in the next couple of sections.
Inside our HTML document, we will add the various HTML elements that tell our browser how to display our content. There are a bunch of HTML elements that you can use, and each element is specially designed for a very particular purpose. We won't go into detail on what all of the elements are or what they do, but we will use a handful of them as part of building our page.
Go back to Visual Studio Code, ensure you still have hello_world.htm open, and add the following content into it:
<!DOCTYPE html>
<html lang="en-us">

<head>
  <meta charset="utf-8">
  <title>Hello...</title>
</head>

<body>

</body>

</html>
What we just added is the basic structure of our web page. If you preview what you've just added in your browser by refreshing hello_world.htm that you may already have had open or by opening it again from the Desktop, you won't see much changing outside of your document's title showing up as Hello...:
Despite us not seeing a whole lot new in our browser, that doesn't mean a lot of interesting things aren't going on. Let's go back to our code and walk through what exactly is going on.
The first line we added is something known as the doctype declaration:
<!DOCTYPE html>The doctype tells our browser how to read our HTML page. A value of html indicates that this is the latest version of the HTML standard.
Next up is our first HTML element, appropriately called html:
<!DOCTYPE html>
<html lang="en-us">

<head>
  <meta charset="utf-8">
  <title>Hello...</title>
</head>

<body>

</body>

</html>
The html element defines the root element of our document, and it is used in addition to our doctype declaration to tell your browser that we are dealing with an HTML document. You can optionally specify a language attribute (lang="en-us") in your opening HTML tag to help browsers or any assistive technologies like screen readers do the right thing depending on the language specified.
Moving on, we have our head element and all of its contents next:
<!DOCTYPE html>
<html lang="en-us">

<head>
  <meta charset="utf-8">
  <title>Hello...</title>
</head>

<body>

</body>

</html>
The head element is partly used as a place to store metadata describing the document. For example, we have a meta element that describes the encoding that needs to be used, and we also specify the document's title here as well by relying on the title element. Some of the other types of content that can live inside the head element are any relating to styling and code. We'll cover some of them later on.
Finally, we get to the part that makes up the bulk of what you see in a web page, the body element:
<!DOCTYPE html>
<html lang="en-us">

<head>
  <meta charset="utf-8">
  <title>Hello...</title>
</head>

<body>

</body>

</html>
The body element is where all of the content we can see and interact with such as images, text, video, etc. will reside. As HTML elements go, the body element is a pretty big deal. Our body element is currently empty, but we'll change that in the next section.
The previous section was all about getting our web page's base, the foundation, in a good shape. In this section, we'll build on top of that and add the HTML elements that we can actually see.
In our HTML document, add the highlighted lines inside our body element:
<!DOCTYPE html>
<html>

<head>
  <meta charset="utf-8">
  <title>Hello...</title>
</head>

<body>
   <div>
    <p>?</p>
    <button>click me</button>
  </div>
</body>

</html>
Before we go line-by-line and see what is going on with the lines we just added, save your document and preview what you have in your browser. This time, you will see some real content show-up inside our browser that is more than the page's title:
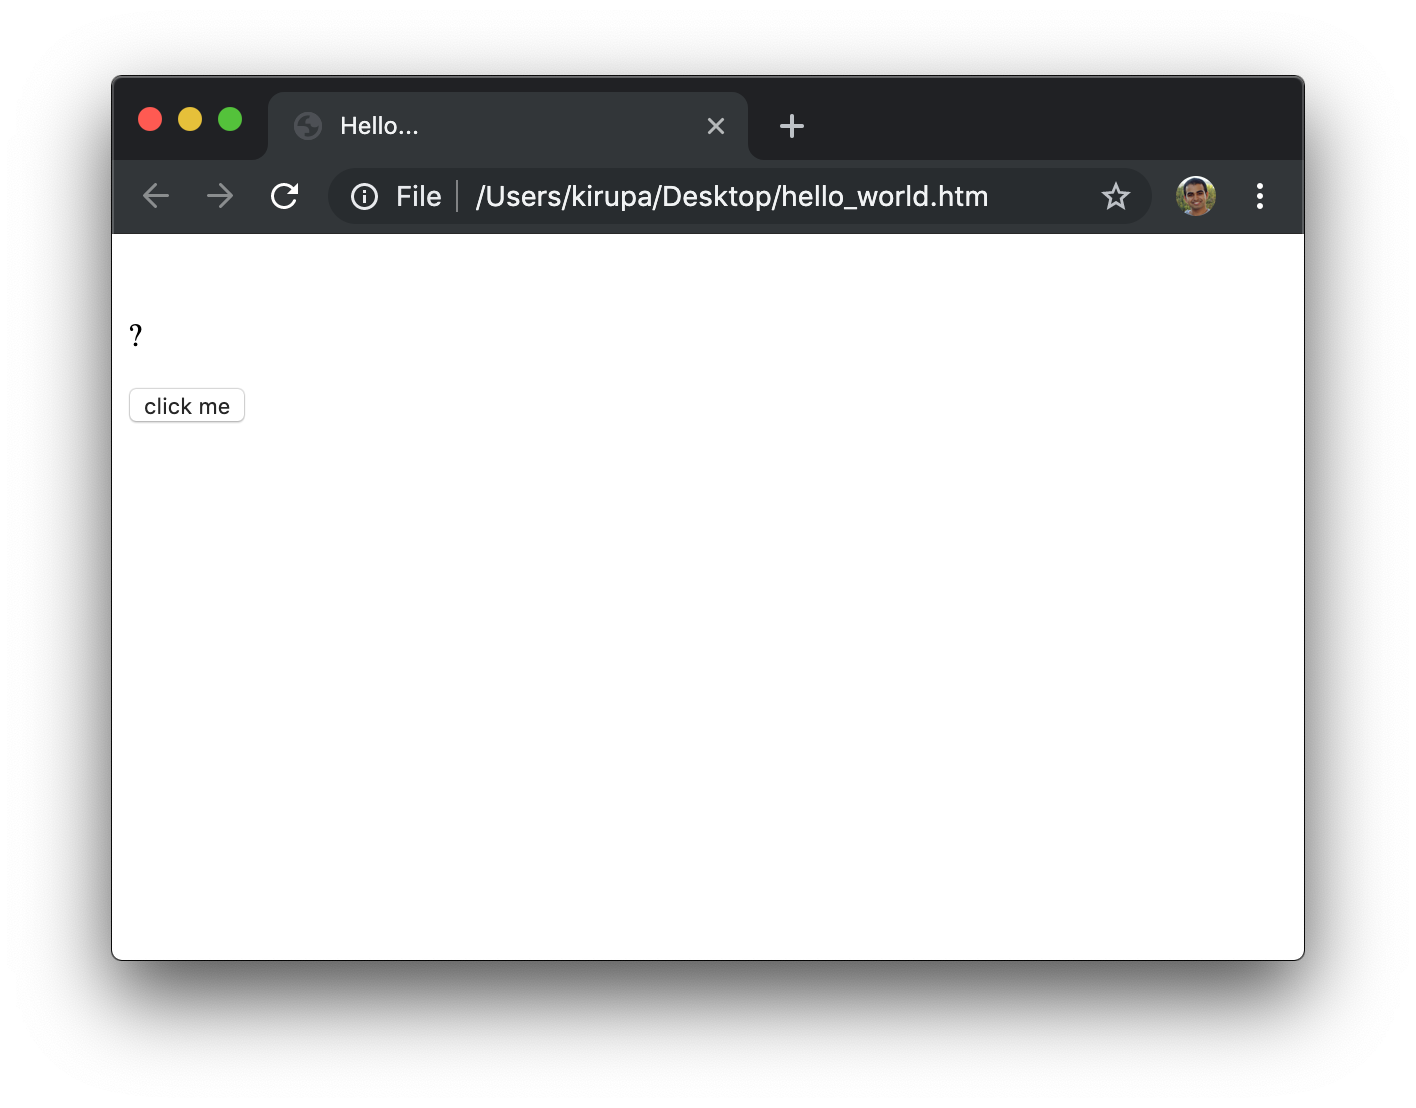
The real content, in our case, takes the form of a little question mark and a button labeled click me. This may not look quite like the example we saw at the beginning, but we'll get to prettifying it shortly.
First, let's look at the elements we've added...starting with the div:
<!DOCTYPE html>
<html>

<head>
  <meta charset="utf-8">
  <title>Hello...</title>
</head>

<body>
   <div>
    <p>?</p>
    <button>click me</button>
  </div>
</body>

</html>
The div element is a very generic sort of an element that you can place other elements into. What makes the div nice is that it is actually very boring. It conveys no real information about what content it actually has, and this is actually a good thing because this gives you the full freedom to define meaning for it. We will use more meaningful elements in the future, but using a div is ok for now.
Next up is the p tag:
<!DOCTYPE html>
<html>

<head>
  <meta charset="utf-8">
  <title>Hello...</title>
</head>

<body>
   <div>
    <p>?</p>
    <button>click me</button>
  </div>
</body>

</html>
The p element, aka the paragraph element, is ideal for displaying text. It's a fun element that we'll be seeing a lot more of as we build more and more web pages!
The last item from the bucket of HTML we added is the button element:
<!DOCTYPE html>
<html>

<head>
  <meta charset="utf-8">
  <title>Hello...</title>
</head>

<body>
   <div>
    <p>?</p>
    <button>click me</button>
  </div>
</body>

</html>
Unlike the other elements we've used so far, our button element does more than just output whatever content you place inside it. It actually provides you with some visual cues for clicking. While it currently has a generic Look, I'm a button from the 90's!!!! look to it, we'll look at ways to fix that in the next section.
Right now, our page looks as follows:
What we see here is the default look we get when we use the HTML elements we...um...used. To adjust the look of our HTML elements, we have to go beyond HTML. We have to rely on the very complementary technology known as Cascading Style Sheets (CSS) that is all about styling and visual changes.
There are several ways to add CSS to our page. One common way is by using the style element and placing all of the CSS-related content inside it. That's what we are going to do. Go back to our HTML and add the style element inside our head element:
<!DOCTYPE html>
<html>

<head>
  <meta charset="utf-8">
  <title>Hello...</title>

  <style>

  </style>
</head>

<body>
   <div>
    <p>?</p>
    <button>click me</button>
  </div>
</body>

</html>
Inside this element, we can freely add our styling. The way we style elements in CSS is by:
The way we write CSS has its own syntax that looks a little strange, especially when viewed inside an HTML document, but this is one more thing that you will get more accustomed to with experience. Let's go ahead and add the styles necessary to first change our page's background color. Go ahead and add the following highlighted lines inside our style element:
<!DOCTYPE html>
<html>

<head>
  <meta charset="utf-8">
  <title>Hello...</title>

  <style>
    body {
      background-color: #FFD131;
    }
  </style>
</head>

<body>
   <div>
    <p>?</p>
    <button>click me</button>
  </div>
</body>

</html>
These highlighted lines that we just added is known as a style rule. A style rule is made up of two parts. The first part identifies the element or elements you want to target, and it is known as the selector. There are a variety of ways you can do this identifying, but one way is by referencing the HTML element directly. In our case, we are targeting the body element. The second part is known as the declaration block, and it is everything inside the curly brackets that specifies what visual properties on the elements identified by the selector to modify. In our case, we are setting a property called background-color and giving it a yellow-ish color value of #FFD131.
Once you have added this style rule, save the HTML document and check what your page looks like in our browser:
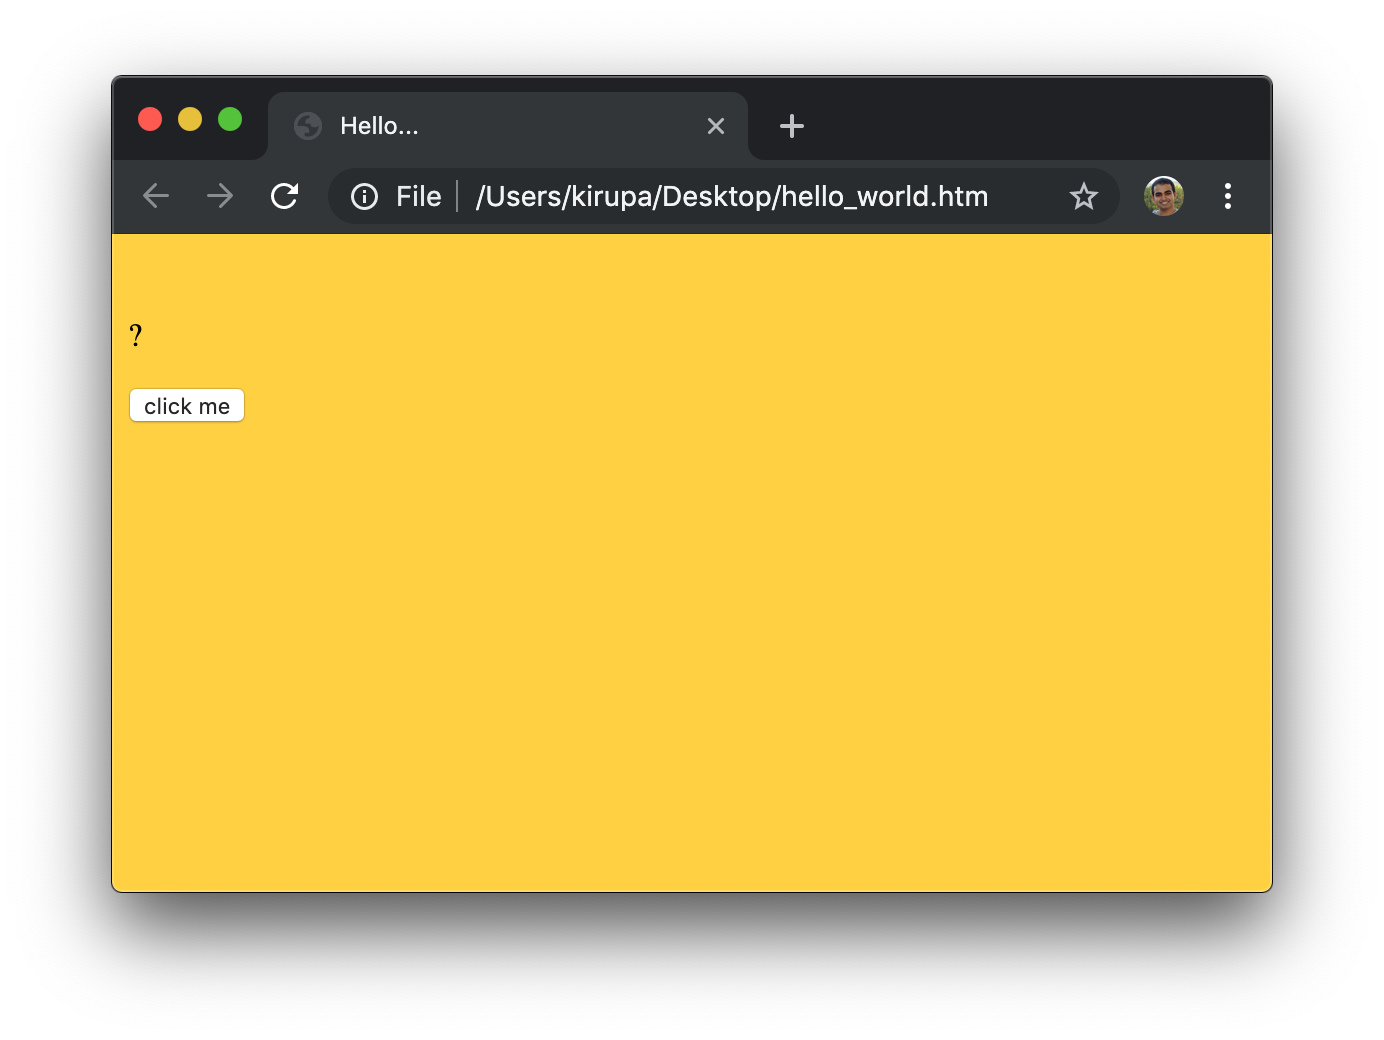
Notice that our entire page is colored in the yellow color value we specified earlier, thanks to the appropriately named background-color property. By using a similar approach, we can style the rest of the elements to match the look and feel we are going for. There are many CSS properties besides background-color that we have available that will help us with our styling goals, and we'll see many of them in the future.
To style the rest of our elements, add the following highlighted style rules:
<!DOCTYPE html>
<html>

<head>
  <meta charset="utf-8">
  <title>Hello...</title>

  <style>
    body {
      background-color: #FFD131;
    }

    div {
      background-color: #ffe99b;
      padding: 20px;
      font-family: sans-serif;
      font-weight: bold;
      text-align: center;
      max-width: 500px;
      border-radius: 5px;
      margin: 0 auto;
      margin-top: 30px;
    }

    p {
      font-size: 3em;
      margin: 20px;
    }

    button {
      font-size: 16px;
      font-weight: bold;
      padding: 10px;
      border: 4px solid #000;
    }

    button:hover {
      background-color: #9FFFE3;
    }

    button:active {
      background-color: #000;
      color: #FFF;
    }
  </style>
</head>

<body>
  <div>
    <p>?</p>
    <button>click me</button>
  </div>
</html>
Take a few moments to look at what these style rules do, what properties we specified, and what some of the values for those properties are. To echo what I mentioned earlier, it's OK if everything here doesn't fully make sense. Just know that these style rules change how the elements in our page look, and you can see the result if you save your HTML document again and preview these changes in your browser:
Our page currently looks a whole lot different than what we had a few moments ago when we only had HTML in our document. By adding just a few dozen lines of CSS, you can see how the look of the page has dramatically changed. That's pretty cool.
The last thing we are going to do is add some interactivity where clicking on the button will change the ? text into something more interesting like hello, world! When it comes to interactivity, all roads lead to the doorstep of JavaScript. If you thought CSS looked a little weird, JavaScript is a bit weirder, for it is a full fledged programming language that doesn't fit into nice the selector and declaration blocks like CSS or nested named elements like you have in HTML. It is a very unique creature.
Let's see this all for ourselves. The first step to adding JavaScript to our page is to add the script element that will house it. Go back to our hello_world.htm and add the script element as highlighted below:
<!DOCTYPE html>
<html>

<head>
  <meta charset="utf-8">
  <title>Hello...</title>

  <style>
    body {
      background-color: #FFD131;
    }

    div {
      background-color: #ffe99b;
      padding: 20px;
      font-family: sans-serif;
      font-weight: bold;
      text-align: center;
      max-width: 500px;
      border-radius: 5px;
      margin: 0 auto;
      margin-top: 30px;
    }

    p {
      font-size: 3em;
      margin: 20px;
    }

    button {
      font-size: 16px;
      font-weight: bold;
      padding: 10px;
      border: 4px solid #000;
    }

    button:hover {
      background-color: #9FFFE3;
    }

    button:active {
      background-color: #000;
      color: #FFF;
    }
  </style>
</head>

<body>
  <div>
    <p>?</p>
    <button>click me</button>
  </div>

  <script>

  </script>
</html>
Now, it is time to add our JavaScript. Inside the script element, add the following highlighted lines:
<!DOCTYPE html>
<html>

<head>
  <meta charset="utf-8">
  <title>Hello...</title>

  <style>
    body {
      background-color: #FFD131;
    }

    div {
      background-color: #ffe99b;
      padding: 20px;
      font-family: sans-serif;
      font-weight: bold;
      text-align: center;
      max-width: 500px;
      border-radius: 5px;
      margin: 0 auto;
      margin-top: 30px;
    }

    p {
      font-size: 3em;
      margin: 20px;
    }

    button {
      font-size: 16px;
      font-weight: bold;
      padding: 10px;
      border: 4px solid #000;
    }

    button:hover {
      background-color: #9FFFE3;
    }

    button:active {
      background-color: #000;
      color: #FFF;
    }
  </style>
</head>

<body>
  <div>
    <p>?</p>
    <button>click me</button>
  </div>

  <script>
    // accessing the elements from our page
    var buttonElement = document.querySelector("button");
    var textElement = document.querySelector("p");

    // listening to a click event on the button
    buttonElement.addEventListener("click", changeText, false);

    // what gets called when the button is clicked
    function changeText(e) {
      textElement.innerText = "hello, world!";
    }
  </script>
</html>
Take a moment to glance through the code we added. Some of the words might make sense, and some of the words might make you question your knowledge of English. I added some comments in the code that briefly describe what is happening, but the goal isn't for you to master what this code is doing. We'll spend a lot of time on all of that in future tutorials.
If you save your document and preview what happens in your browser, initially what you see won't be any different than what you had before. Click on the click me button, though, to see what happens when our JavaScript runs:
If everything worked out correctly, the words hello, world! should appear to replace the contents of the ? text that was there originally.
Congratulations. You just built your first web page that contained a reasonable amount of interactivity via JavaScript. As part of getting to this point, we covered a lot of ground. The goal of this tutorial was just to give you a sample of what you'll encounter as part of building increasingly complex pages, and to serve as the starting point for your future learnings. What we've scratched is only the surface of everything you and I will need to learn to become proficient in web development:
There were a lot of areas that we didn't go into detail, and those are areas we will address in subsequent tutorials. Our focus is on the JavaScript side of the house, but we can't go far without some HTML and CSS as well. It's going to be fun!
Just a final word before we wrap up. If you have a question and/or want to be part of a friendly, collaborative community of over 220k other developers like yourself, post on the forums for a quick response!

:: Copyright KIRUPA 2024 //--