Table of Contents

By now, you probably know all about the backstory of React and how it helps even your most complex user interfaces sing performantly. For all the awesomeness that React brings to the table, getting started with it (kinda like this sentence) is not the most straightforward thing. It has a steep learning curve filled with many small and big hurdles:

In this tutorial, we are going to start at the very beginning and get our hands dirty by building a simple React app. We'll encounter some of these hurdles head-on, and some of these hurdles we'll skip over...for now. By the end of this tutorial, not only will we have built something you can proudly show off to your friends and family, we'll have set ourselves up nicely for diving deeper into all that React offers in future tutorials.
Onwards!

To kick your React skills up a few notches, everything you see here and more (with all its casual clarity!) is available in both paperback and digital editions.
BUY ON AMAZONBefore we start building our app, there is an important thing we should cover first. React isn't like many JavaScript libraries you may have used. It isn't very happy when you simply refer to code you've written for it using a script tag. React is annoyingly special that way, and it has to do with how React apps are built.
As you know, your web apps (and everything else your browser displays) are made up of HTML, CSS, and JavaScript:
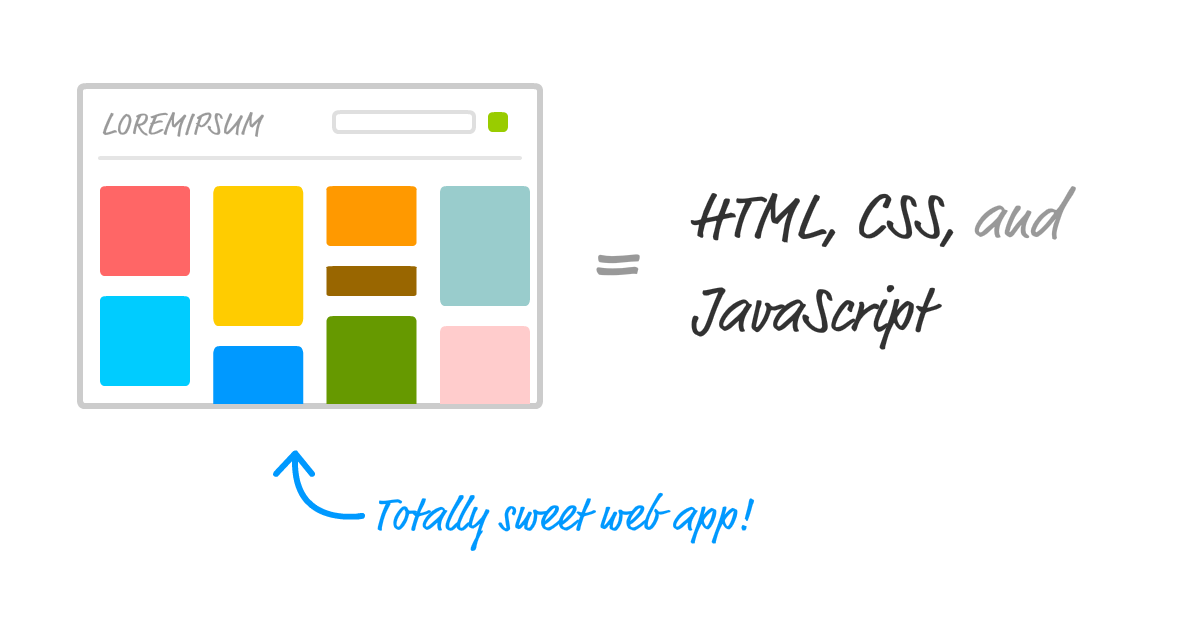
It doesn't matter if your web app was written using React or some other library like Angular, Knockout, or jQuery. The end result has to be some combination of HTML, CSS, and JavaScript. Otherwise, your browser really won't know what to do.
Now, here is where the specialness of React comes in. Besides normal HTML, CSS, and JavaScript, the bulk of your React code will be written in something known as JSX. JSX is a language that allows you to easily mix JavaScript and HTML-like tags to define user interface (UI) elements and their functionality. That sounds cool and all (and we will see JSX in action in just a few moments), but there is a slight problem. Your browser has no idea what to do with JSX.
To build a web app using React, we need a way to take our JSX and convert it into plain old JavaScript that your browser can understand:
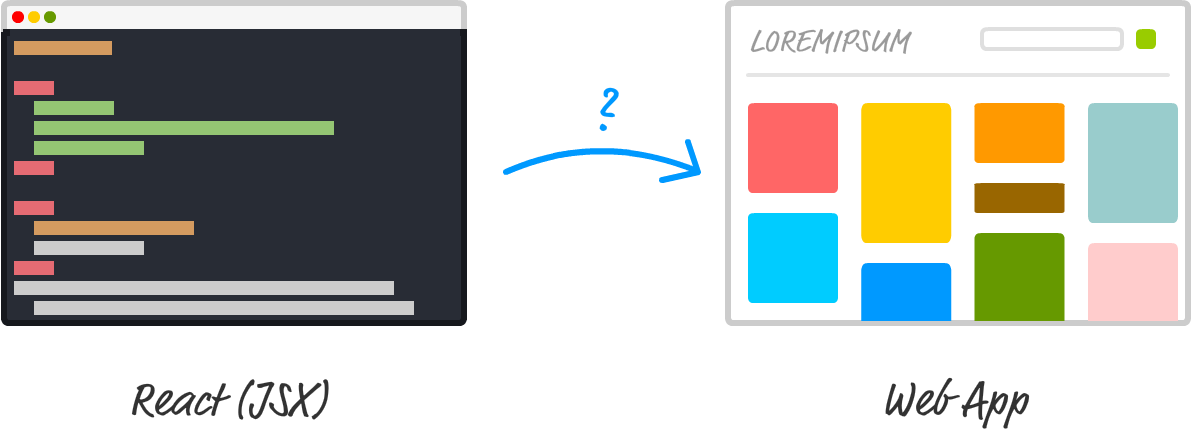
If we didn't do this, our React app simply won't work. That's not cool. Fortunately, there are two solutions to this:
Both of these solutions have a place in our world, but let's talk about the impact of each.
The first solution, while a bit complicated and time-consuming at first, is the way modern web development is done these days. Besides compiling (transpiling...to be more accurate) your JSX to JS, this approach allows you to take advantage of modules, better build tools, and a bunch of other features that make building complex web apps somewhat manageable.
The second solution provides a quick and direct path where you initially spend more time writing code and less time fiddling with your development environment. To use this solution, all you do is reference a script file. This script file takes care of turning the JSX into JS on page load, and your React app comes to life without you having to do anything special to your development environment.
For our introductory look at React, we are going to use the second solution. You may be wondering why we don't use the second solution always. The reason is that your browser takes a performance hit each time it spends time translating JSX into JS. That is totally acceptable when learning how to use React, but that is totally not acceptable when deploying your app for real-life use. Because of that unacceptableness, we will revisit all of this and look at the first solution and how to setup your development environment later once you've gotten your feet comfortably wet in React.
In the previous section, we looked at the two ways you have for ensuring your React app ends up as something your browser understands. In this section, we are going to put all of those words into practice. First, we will need a blank HTML page that will act as our starting point.
If you don't have a blank HTML page handy, feel free to use the following:
<!DOCTYPE html>
<html>

<head>
  <meta charset="utf-8">
  <title>React! React! React!</title>
</head>

<body>
  <script>

  </script>
</body>

</html>
This page has nothing interesting or exciting going for it, but let's fix that by adding a reference to the React library. Just below the title, add these two lines:
<script crossorigin src="https://unpkg.com/react@16/umd/react.development.js"></script>
<script crossorigin src="https://unpkg.com/react-dom@16/umd/react-dom.development.js"></script>
These two lines bring in both the core React library as well as the various things React needs to work with the DOM. Without them, you aren't building a React app at all. Now, we aren't done yet. There is one more library we need to reference. Just below these two script tags, add the following line:
<script src="https://unpkg.com/[email protected]/babel.min.js"></script>What we are doing here is adding a reference to the Babel JavaScript compiler. Babel does many cool things, but the one we care about is its ability to turn JSX into JavaScript.
At this point, our HTML page should look as follows:
<!DOCTYPE html>
<html>

<head>
  <meta charset="utf-8">
  <title>React! React! React!</title>
  <script crossorigin src="https://unpkg.com/react@16/umd/react.development.js"></script>
  <script crossorigin src="https://unpkg.com/react-dom@16/umd/react-dom.development.js"></script>
  <script src="https://unpkg.com/[email protected]/babel.min.js"></script>
</head>

<body>
  <script>

  </script>
</body>

</html>
If you preview your page right now, you'll notice that this page is still blank with nothing visible going on. That's OK. We are going to fix that next.
The first thing we are going to do is use React to display our name on screen. The way we do that is by using a method called render. Inside your script tag, add the following:
ReactDOM.render(
  <h1>Sherlock Holmes</h1>,
  document.body
);
Don't worry if none of this makes sense at this point. Our goal is to get something to display on screen first, and we'll make sense of what we did shortly afterwards. Now, before we preview this in our page to see what happens, we need to designate this script block as something that Babel can do its magic on. The way we do that is by setting the type attribute on the script tag to a value of text/babel:
<script type="text/babel">
  ReactDOM.render(
    <h1>Sherlock Holmes</h1>,
    document.body
  );
</script>
Once you've made that change, now preview what you have in your browser. What you'll see are the words Sherlock Holmes printed in giant letters:
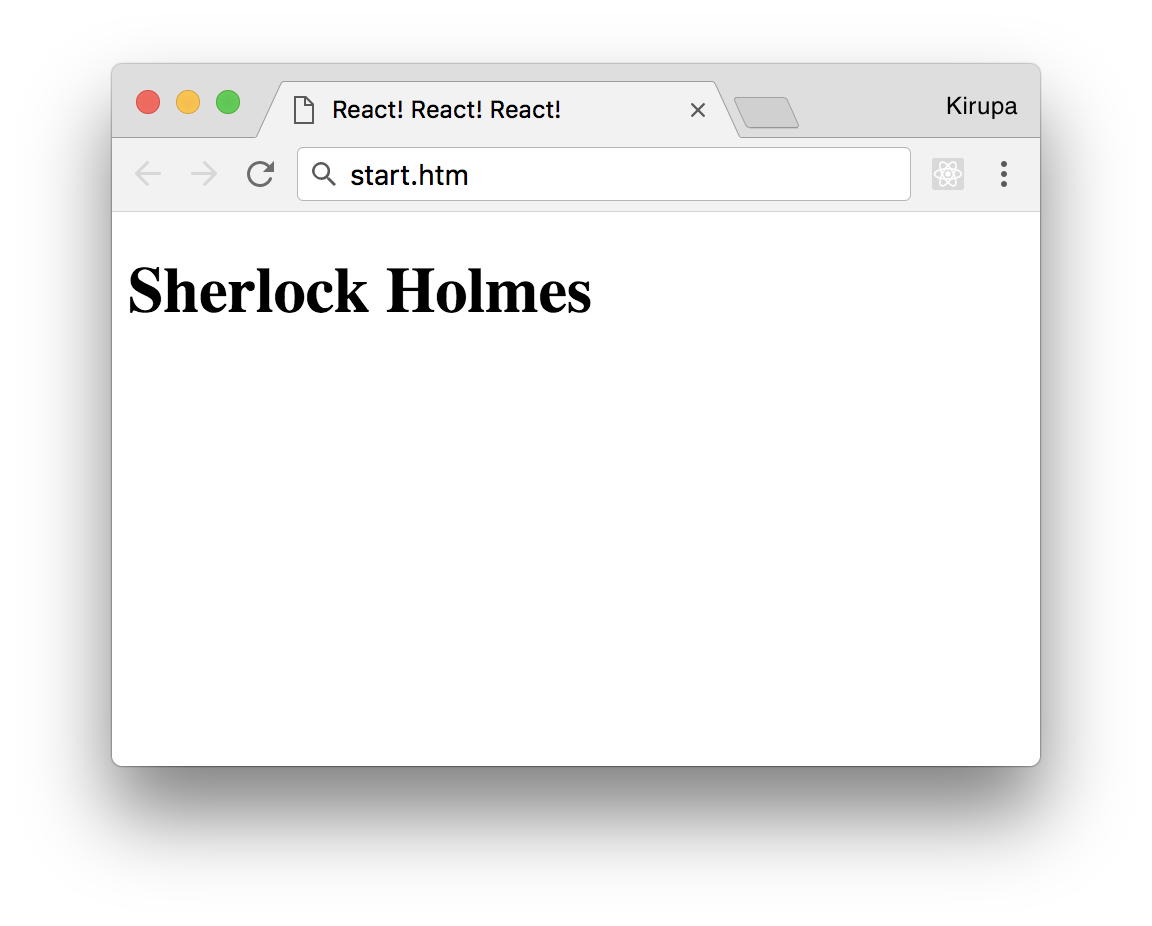
Congratulations! You just built an app using React.
As apps go, this isn't all that exciting. Chances are, your name isn't even Sherlock Holmes. While this app doesn't have much going for it, it does introduce you to one of the most frequently used methods you'll use in the React universe: the render method.
The render method takes two arguments:
Here is what our render method looks like:
ReactDOM.render(
  <h1>Sherlock Holmes</h1>,
  document.body
);
Our first argument is the text Sherlock Holmes wrapped inside some h1 tags. This HTML-like syntax inside your JavaScript is what JSX is all about. While we will spend a lot more time drilling into JSX a bit later, I should mention this up front: It is every bit as crazy as it looks. Whenever I see brackets and slashes in JavaScript, a part of me dies on the inside because of all the string escaping and quotation mark gibberish I will need to do. With JSX, you do none of that. You just place your HTML-like content as-is just like what we've done here. Magically (like the super-awesome kind involving dragons and laser beams), it all works.
The second argument is document.body. There is nothing crazy or bizarre about this argument. It simply specifies where the converted markup from the JSX will end up living in our DOM. In our example, when the render method runs, the h1 tag (and everything inside it) is placed in our document's body element.
Now, the goal of this exercise wasn't to display a name on the screen. It was to display your name. Go ahead and modify your code to do that. In my case, the render method will look as follows:
ReactDOM.render(
  <h1>Batman</h1>,
  document.body
);
Well...it would look like that if my name was Batman! Anyway, if you preview your page now, you will see your name displayed instead of Sherlock Holmes.
While the JavaScript looks new and shiny thanks to JSX, the end result your browser sees is nice and clean HTML, CSS, and JavaScript. To see this for yourself, let's make a few alterations to how our app behaves and looks.
The first thing we'll do is change where our JSX gets output. Using JavaScript to place things directly in your body element is never a good idea. A lot can go wrong - especially if you are going to be mixing React with other JS libraries and frameworks. The recommended path is to create a separate element that you will treat as a new root element. This element will serve as the destination our render method will use. To make this happen, go back to the HTML and add a div element with an id value of container.
Instead of showing you the full HTML for this one minor change, here is what just our body element looks like:
<body>
  <div id="container"></div>
  <script type="text/babel">
    ReactDOM.render(
      <h1>Batman</h1>,
      document.body
    );
  </script>
</body>
With our container div element safely defined, let's modify the render method to use it instead of document.body. Here is one way of doing this:
ReactDOM.render(
  <h1>Batman</h1>,
  document.querySelector("#container")
);
Another way of doing this is by doing some things outside of the render method itself:
var destination = document.querySelector("#container");

ReactDOM.render(
  <h1>Batman</h1>,
  destination
);
Notice that the destination variable stores the reference to our container DOM element. Inside the render method, we simply reference the same destination variable instead of writing the full element-finding syntax as part of the argument itself. The reason I do this is simple. I want to show you that you are still writing JavaScript and render is just another boring old method that happens to take two arguments.
Time for our last change before we call it a day. Right now, our names show up in whatever default h1 styling our browser provides. That is just terrible, so let's fix that by adding some CSS. Inside your head tag, let's add a style block with the following CSS:
<style>
    #container {
    	padding: 50px;
    	background-color: #EEE;
    }
    #container h1 {
    	font-size: 144px;
		font-family: sans-serif;
   	 color: #0080a8;
    }
</style>
After you have added all of this, preview your page now. Notice that our text appears with a little more purpose than it did earlier when it relied entirely on the browser's default styling:
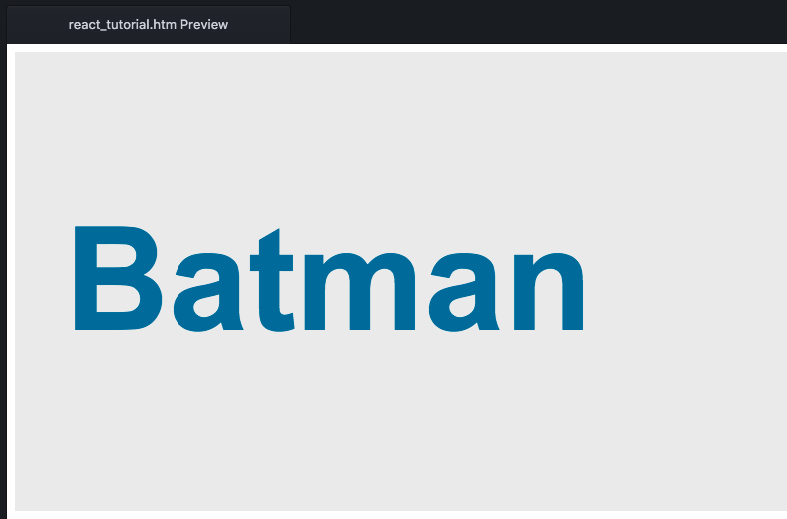
The reason this works is that our DOM's body after running all of the React code contains our container element with a h1 tag inside it. It doesn't matter that the h1 tag was defined entirely inside JavaScript in this JSX syntax or that your CSS was defined well outside of the render method. The end result of your React app is still going to be made up of some 100% organic (and cage-free!) HTML, CSS, and JavaScript. If we had to see what this transpiled JavaScript looks like, it will look a bit like the following:
<!DOCTYPE html>
<html>

<head>
  <meta charset="utf-8">
  <title>React! React! React!</title>
  <script src="https://unpkg.com/react@16/umd/react.development.js"></script>
  <script src="https://unpkg.com/react-dom@16/umd/react-dom.development.js"></script>
  <script src="https://unpkg.com/[email protected]/babel.min.js"></script>

  <style>
    #container {
      padding: 50px;
      background-color: #EEE;
    }
    #container h1 {
      font-size: 144px;
      font-family: sans-serif;
      color: #0080a8;
    }
  </style>
</head>

<body>
  <div id="container"></div>
  <script type="text/babel">
    var destination = document.querySelector("#container");

    ReactDOM.render(React.createElement(
      "h1",
      null,
      "Batman"
    ), destination);
  </script>
</body>

</html>
Notice that there is nary a trace of React-like code in sight. Also, we should use the word nary more often in everyday conversation!
If this is your first time building a React app, we covered a lot of ground here. One of the biggest takeaways is that React is different than other libraries because it uses a whole new language called JSX to define what the visuals will look like. We got a very small glimpse of that here when we defined the h1 tag inside the render method.
JSX's impact goes beyond how you define your UI elements. It also alters how you build your app as a whole. Because your browser can't understand JSX in its native representation, you need to use an intermediate step to convert that JSX into JavaScript. One approach is to build your app to generate the transpiled JavaScript output to correspond to the JSX source. Another approach (aka the one we used here) is to use the Babel library to translate the JSX into JavaScript on the browser itself. While the performance hit of doing that is not recommended for live/production apps, when familiarizing yourself with React, you can't beat the convenience.
In future tutorials, we'll spend some time diving deeper into JSX and going beyond the render method as we look at all the important things that make React tick.
Next tutorial: Components in React
Just a final word before we wrap up. If you have a question and/or want to be part of a friendly, collaborative community of over 220k other developers like yourself, post on the forums for a quick response!

:: Copyright KIRUPA 2024 //--