by kirupa |
23 April 2007In the
previous page you copied/pasted a few more circles, made
some scaling changes, and more. In this page we'll wrap this
tutorial up and take a step back and review some of the
interesting things you learned.
-
An optional step is for you repeat the
above Copy, Paste, and Scale process to have a lot more
circles populate your screen. Feel free to adjust the
transparency for your circles as needed also.
Here is how my Artboard looks like after having
copied/pasted and altered a few more circles:
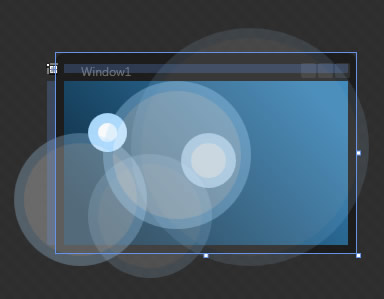
[ adding and modifying a few more circles ]
-
The final step is for you to preview
your application. To preview your application, click on
the Project menu and select Test Project, or you can
also just press F5. After a few seconds of building your
project, you will see a Windows window appear containing
your project:
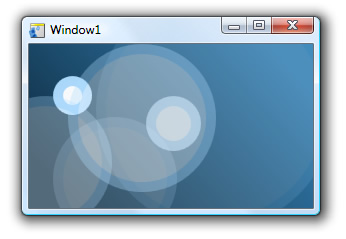
[ your finished product ]
By now, you should have created something that looks like
the above screenshot. In creating that, you received a quick
overview of how to create a new project, resize the window,
change the background color, draw shapes, change the
outline, and more.
The key thing to remember is that this is an introductory
tutorial. As such, there were a lot of details that I did
not cover. For example, in the tutorial you only changed the
gradient colors. The actual gradient feature allows you to
do much more such as allowing you to add more gradient stops
and even reposition the existing gradient stops. Likewise,
the treatment of the alpha channel using the Opacity Mask
property is only part of what you can actually do.
Future tutorials will focus more narrowly on specific
features and hammer out the details in depth. For an
introductory tutorial, the goal was to have you create
something cool looking while getting a broad overview of
some of the drawing features in Blend.
Just a final word before we wrap up. If you have a question and/or want to be part of a friendly, collaborative community of over 220k other developers like yourself, post on the forums for a quick response!

|


