Table of Contents

Ken Burns is a pretty famous (and award-winning) documentary film maker. While I haven't personally seen any of his documentaries, it's not cool to admit that publically. If you haven't seen any of his documentaries either, just pretend that you have. Your coolness quotient will certainly go up. Anyway, we aren't really here to talk about Ken Burns and how edumacationally amazing his documentaries are. Instead, we are here to talk about a camera effect he pioneered that I guarantee you've seen.
That effect, called the Ken Burns effect, looks something like this:
You can summarize this effect as follows: It is a slow pan and zoom of a static image. While that description sounds very boring, you can create a lot of neat effects with it - as you've probably seen in countless documentaries, crime shows, and anything else where you need to highlight something on a static image for a while.
In this coding exercise, it's up to you to pick any image that you want and create an example that uses the Ken Burns effect similar to my example above!
The easiest way is to fork the following Codepen pen and start adding your modifications:
See the Pen Coding Exercises Start by Kirupa Chinnathambi (@kirupa) on CodePen.
You may want to open the pen in a new window if you want more space to code your solution or bring up the Console to see the output.
If you prefer developing locally in your favorite code editor (like Visual Studio Code), create a new HTML document and copy/paste the following boilerplate/starting content into it:
<!DOCTYPE html>
<html lang="en">
<head>
  <meta charset="UTF-8">
  <meta http-equiv="X-UA-Compatible" content="IE=edge">
  <meta name="viewport" content="width=device-width, initial-scale=1.0">
  <title>Coding Exercises Start</title>
</head>
<body>
  <script>

  </script>
</body>
</html>
The HTML you see here is just the bare minimum content needed to help us get our web page up and running. The rest of the content is what you will add entirely on your own!
Once you have completed this challenge, you have earned the awesome bragworthy privilege of adding the following badge to your collection:

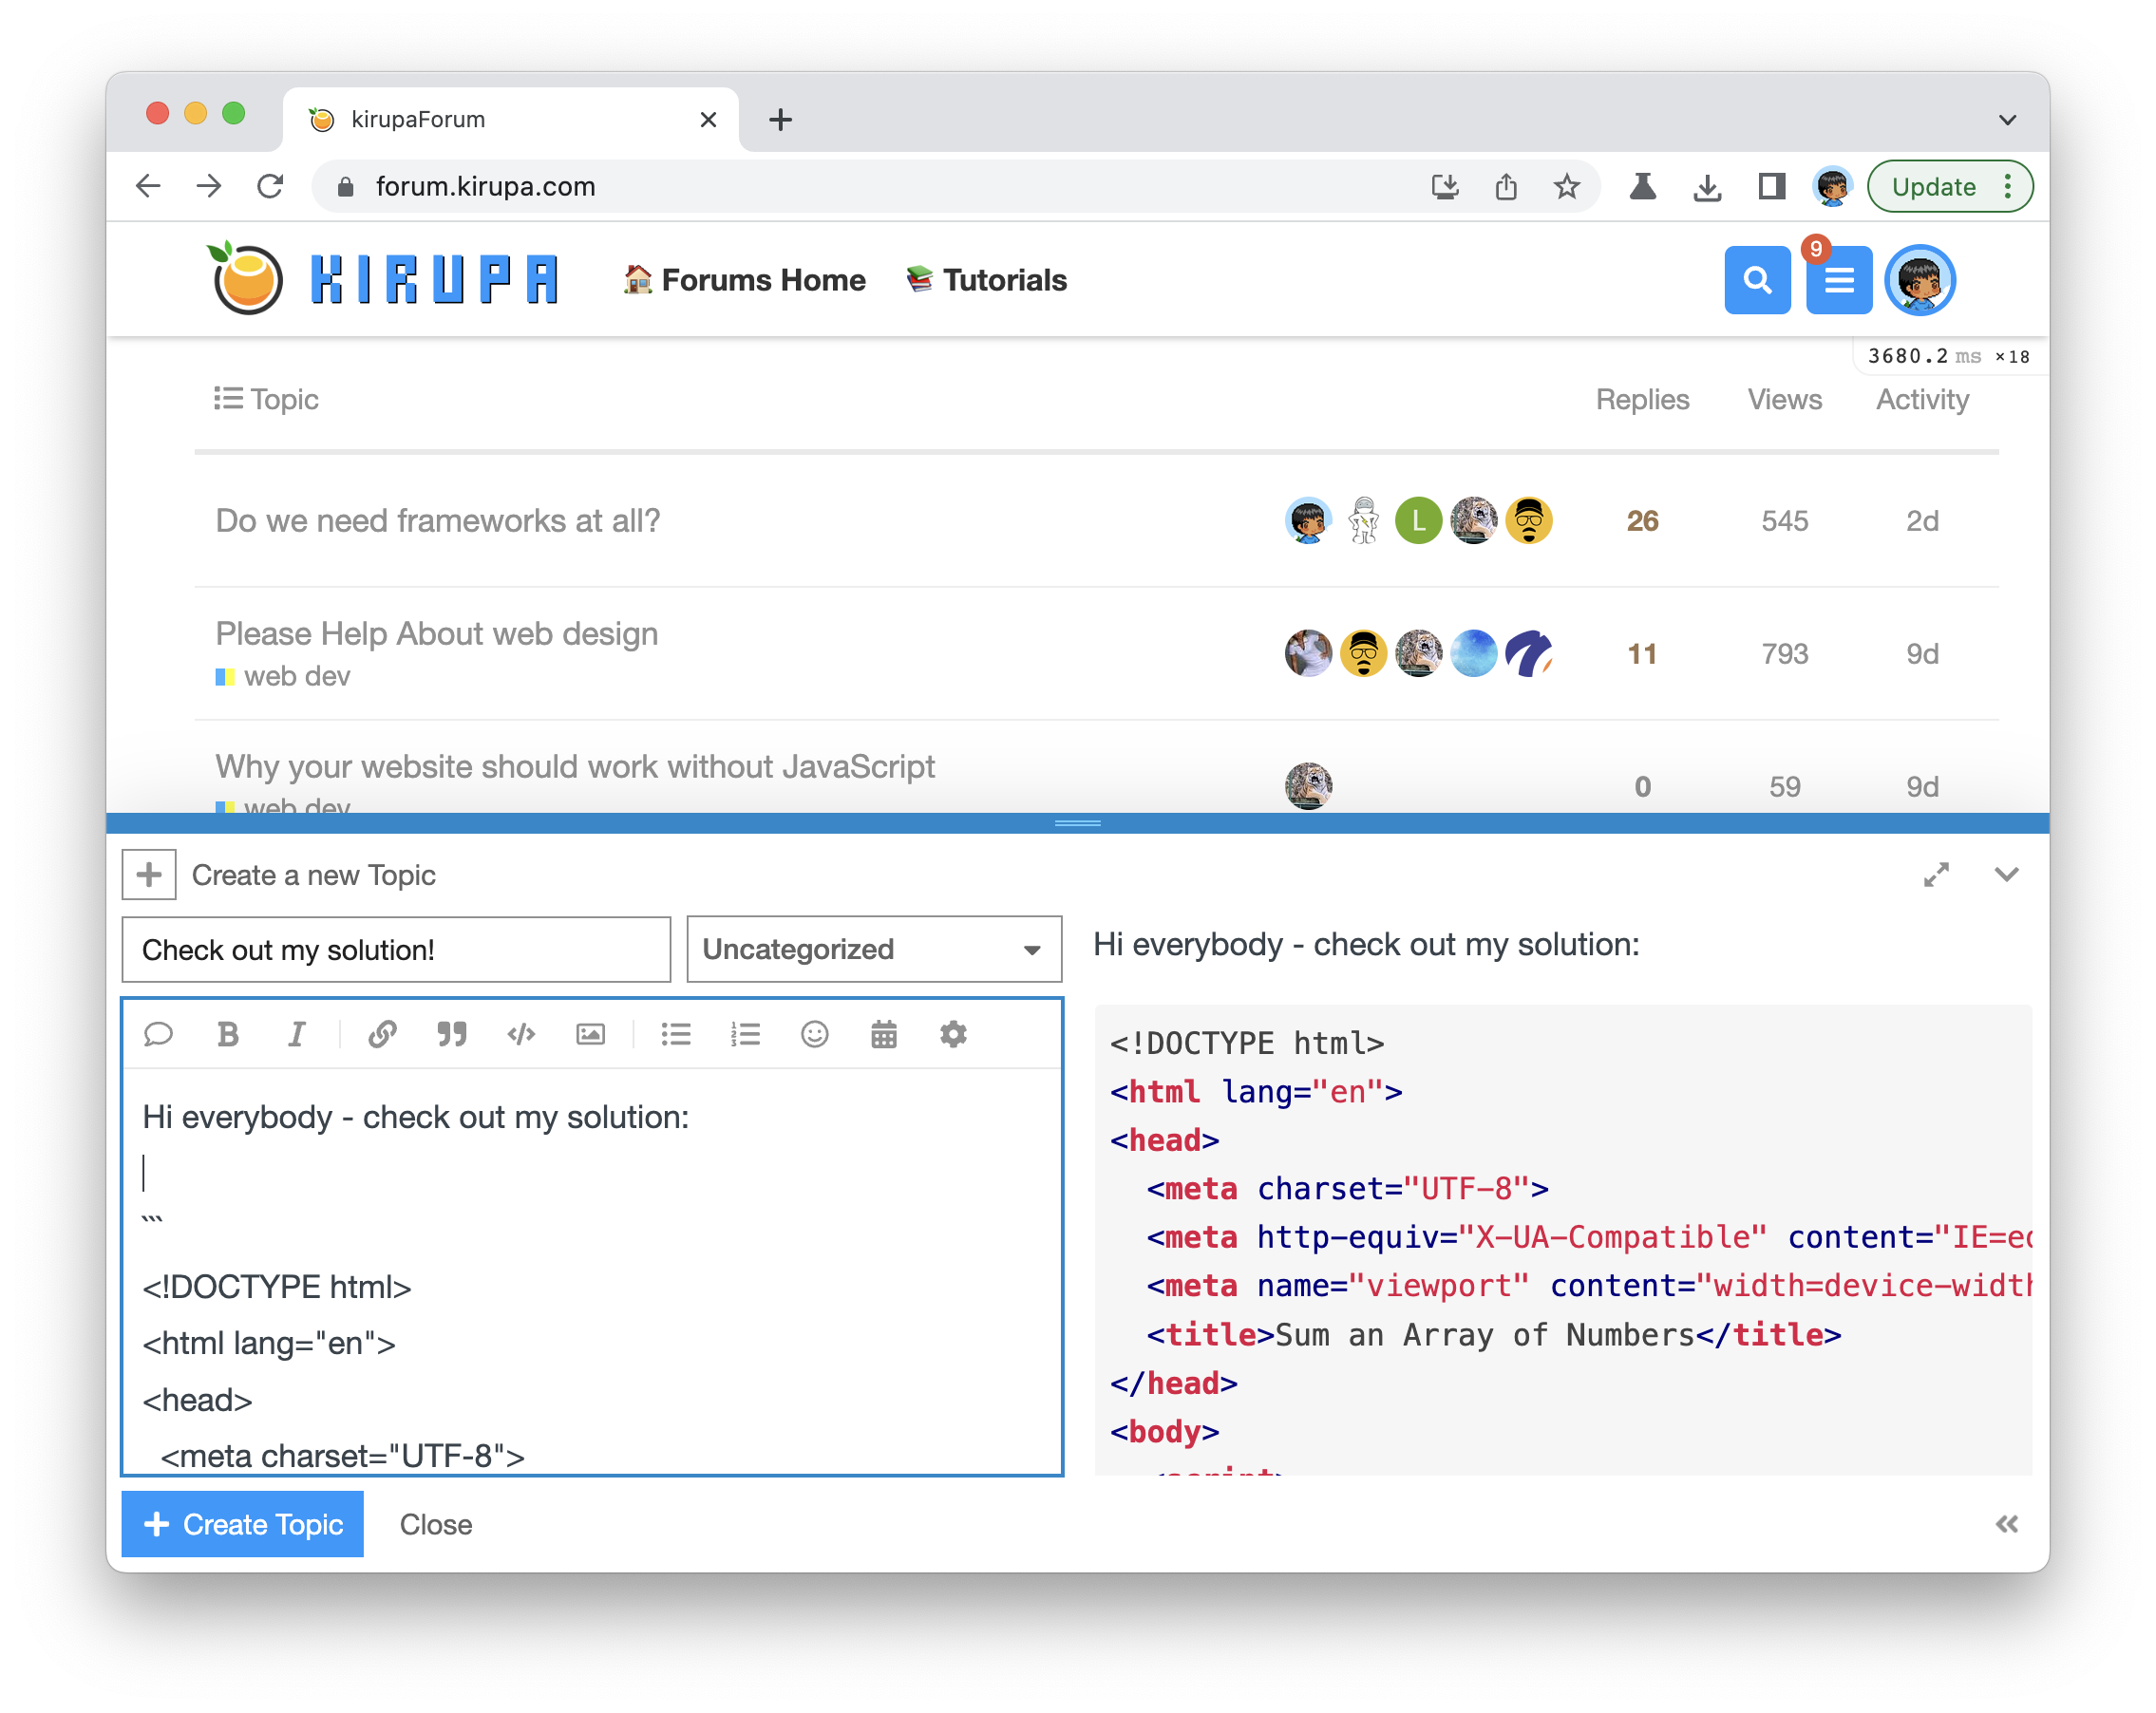
To claim it, head over to the forums and respond in the Ken Burns Effect topic. Be sure to include a link to your solution or insert a copy of your HTML/CSS/JS in the body of the message:
Once you have created your topic, Kirupa will give you a virtual high-five and ensure this badge is added to your list of assigned badges.
We want to make this a fun learning activity. If you are stuck and need help, please ask on the forums. Please explain your problem in detail and one of the many helpful forum members will help you out.
If you want to see one way of solving this, check out Kirupa's video and article below:
In CSS, the stars of this effect are the translate3d and scale3d transforms that are responsible for panning and zooming the image. The translate3d transform moves the image left, right, up, or down:
![]()
The scale3d transform zooms your image in and out:
![]()
When you combine both of these transforms together with a slow animation, you have the Ken Burns effect. Understanding this is the hard part. The easy part is writing the CSS to make all of this work, and we'll look at all that in the next few sections.
If you are familiar with CSS transforms, you are probably wondering why we aren't using the more appropriate scale and translate functions as opposed to their 3d equivalents. The reason has to do with performance. Both translate3d and scale3d rely on your graphics card, and that results in more performant animations on big and small devices! You can read more at this location.
If you want to actively follow-along, create a new HTML page and add the following lines of stuff into it:
<!DOCTYPE html>
<html>

<head>
  <title>The Ken Burns Effect in CSS</title>
  <style>
    h1 {
      font-family: monospace;
      font-size: 2.1em;
      color: #3399FF;
    }

    body {
      padding: 10px;
      background-color: #F4F4F4;
    }

    #imageContainer {
      background-color: #333;
      width: 450px;
      height: 300px;
      overflow: hidden;
      border: 2px #333 solid;
    }
  </style>
</head>

<body>

  <h1>The Ken Burns Effect in CSS</h1>

  <div id="imageContainer">
    <img src="https://www.kirupa.com/images/example_sm2.jpg">
  </div>
</body>

</html>
If you preview this page in your browser, you will see a simple page with a stationary image. The only interesting detail is what you see with the image itself. Our image is clipped (aka masked) by the boundaries of its parent container thanks to the following line of CSS:
#imageContainer {
  background-color: #333;
  width: 450px;
  height: 300px;
  overflow: hidden;
  border: 2px #333 solid;
}
This means that we can freely zoom and pan the image without any care in the world. The viewport is maintained by the parent div element the image is contained by.
Our CSS animation is fairly straightforward. It will use varying values of translate3d and scale3d to shift our image around. Let's start by translating that into keyframe values, so go ahead and add our keyframes (called kenburns) towards the bottom of your style tag:
@keyframes kenburns {
  0% {
    opacity: 0;
  }

  5% {
    opacity: 1;
  }

  95% {
    transform: scale3d(1.5, 1.5, 1.5) translate3d(-190px, -120px, 0px);
    animation-timing-function: ease-in;
    opacity: 1;
  }

  100% {
    transform: scale3d(2, 2, 2) translate3d(-170px, -100px, 0px);
    opacity: 0;
  }
}
The real action happens starts at the 95% mark. Pay attention to what our transform declaration looks like:
transform: scale3d(1.5, 1.5, 1.5) translate3d(-190px, -120px, 0px);We zoom in on the image by 50% using scale3d, and we shift the image by 190 pixels horizontally and 120 pixels vertically using translate3d. We continue more of this at the 100% mark as well where we zoom and pan some more to fine tune the effect.
The last thing that remains is to define our CSS animation that ties our kenburns keyframes with a duration value. Add the following lines inside your style tag just above your keyframes declaration:
#imageContainer img {
  animation: kenburns 20s infinite;
}
We specify that our animation will run for 20 seconds and loop the kenburns keyframes forever. If you save these changes and preview the page in your browser, you'll see the Ken Burns effect on your screen where the image slowly pans towards the guilty looking sheep that all the other sheep are staring at!
So yeah, there you have it...the Ken Burns effect re-created in CSS using nothing more than a CSS Animation surrounded by some different values for the duration, transform, and easing properties. Here is an interesting tidbit. Ken Burns doesn't like to be asked about his pioneering work on this effect. Aren't you glad you learned that?
Just a final word before we wrap up. If you have a question and/or want to be part of a friendly, collaborative community of over 220k other developers like yourself, post on the forums for a quick response!

:: Copyright KIRUPA 2024 //--