Table of Contents

An important part of HTML elements are the attributes they carry with them. Common attributes we see all the time include the id attribute, class attribute, and then a boatload of element-specific ones like src for img elements or autoplay for video elements and so on. When something is important in HTML, you know it is important for us to know how to handle that via JavaScript. That's what this whole set of sections you are about to see is all about.
Onwards!
Before we jump ahead and look at custom attributes, let's take a quick moment and discuss how to access attributes in general. Let's say that we have an HTML element that looks as follows:
<img id="tv" src="foo.png">There are two attributes on this element: id, src. In fine JavaScript tradition, we have a multitude of ways to perform the same tasks. We are going to explore some of those ways in the following sections.
The first thing we are going to do is look at how we can access these attributes in JavaScript. The most popular way is by using getAttribute and providing the attribute name as the argument:
let imgElement = document.querySelector("#tv");

let idValue = imgElement.getAttribute("id");
let srcValue = imgElement.getAttribute("src");

console.log(idValue) // tv
console.log(srcValue) // foo.png
For built-in attributes such as the id and src attributes on an image element, we can access them directly by just dotting into it:
let imgElement = document.querySelector("#tv");

let idValue = imgElement.id;
let srcValue = imgElement.src;

console.log(idValue); // tv
console.log(srcValue); // <full-path>/foo.png
Another approach is to use the attributes property on the DOM element and iterate through the attributes, but that is one we can table for later.
Reading attributes is one thing. Setting attributes is a whole another thing which is handled by the setAttribute method takes the attribute name and the new value as its arguments:
let imgElement = document.querySelector("#tv");
imgElement.setAttribute("src", "bar.png");

console.log(imgElement.getAttribute("src")); // bar.png
Notice that we use setAttribute to change the value of the src attribute to be bar.png.
The last basic attribute-related activity we will look at is how to remove attributes. This task is handled by the removeAttribute method:
let imgElement = document.querySelector("#tv");
imgElement.removeAttribute("src");

console.log(imgElement.getAttribute("src")); // undefined
To use the removeAttribute method, what we need to provide is the name of the attribute to remove as shown in the above example. Notice we are removing the src attribute from our image element, and when we try to access the removed attribute, we can see that it returns a value of undefined.
Moving beyond the standard, built-in attributes our elements carry with them, we have the fun world of custom attributes. In the past, if we ever wanted to mark or tag our elements for any sort of programmatic access later, we didn't have too many good choices. The most common thing we did was add or remove class values from an element:
<img class="ufo friendly healthy" src="spaceship.png">
<img class="ufo enemy destroyed" src="spaceship.png">
That was fine if what we were doing resulted in our element visually changing. There are many times when we just want to store some data on an element - data that we wouldn't want to surface to the user. Overloading the more CSS-oriented class attribute seemed a bit distasteful. Also distasteful was abusing the rel tag, declaring custom namespaces, and doing other things to make up for the lack of a standardized way to embed data into our page.
Fortunately, something sweeter was on the horizon. We have the ability to specify custom data attributes (aka data dash or data-* attributes) whose sole job is to allow us to tag elements with data that we can programmatically access later. Let's say that we have a list of images:
<img src="foo.png"/>
<img src="bar.png"/>
<img src="zorb.png"/>
<img src="blarg.png"/>
What we want to do is store the name of the photographer as part of each image. The way we arer going to do this is by using a custom data attribute called photographer:
<img src="foo.png" data-photographer="Bart"/>
<img src="bar.png" data-photographer="Lisa"/>
<img src="zorb.png" data-photographer="Ralph"/>
<img src="blarg.png" data-photographer="Milhouse"/>
Notice how the custom data attribute is defined. Whatever attribute name you are interested in using, simply prefix data- in front of it. You can have as many custom data attributes as you want. In case you were wondering, simply adding a custom data attribute has no bearing on the appearance or layout of an application.
With custom data attributes, the two most common things we will do is retrieve the value stored by such an attribute or set the value stored by such an attribute. What we saw with getAttribute, setAttribute, and removeAttribute work identically here.
To retrieve the value stored by a data-* attribute, use the trusty getAttribute method on the HTML element the attribute lives on:
<img id="tv" src="foo.png" data-photographer="Krusty the Clown">

<script>
let tvImg = document.getElementById("tv");
let name = tvImg.getAttribute("data-photographer");
</script>
To set the value, we use getAttribute's mortal enemy, the setAttribute method:
tvImg.setAttribute("data-photographer", "Sideshow Bob");You get the picture. The helpful thing to note is that our data-* attributes are nothing more than just plain, boring attributes. Everything we could do in JavaScript before with attributes, we can still do now. These attributes are just named a little bit differently. That's all.
Ok, there is one thing that custom data attributes have that regular attributes don't. That is the handy dataset property. It makes sense when we look at an example of it in action:
<img id="tv" src="foo.png" data-size="large" data-name="Picasso">

<script>
  let imgElement = document.querySelector("#tv");
  let imgSize = imgElement.dataset.size;
  let imgName = imgElement.dataset.name;

  console.log(imgSize); // large
  console.log(imgName); // Picasso
</script>
Notice that we have data-size and data-name as custom attributes. The way we access these attributes is directly via the dataset property and omitting the data- prefix. This handy way of reading custom data properties applies to setting them as well where we can just assign the new attribute value just like we would any variable:
<img id="tv" src="foo.png" data-size="large" data-name="Picasso">

<script>
  let imgElement = document.querySelector("#tv");
  let imgSize = imgElement.dataset.size;

  imgElement.dataset.name = "Van Gogh";
  let imgName = imgElement.dataset.name;

  console.log(imgSize); // large
  console.log(imgName); // Van Gogh
</script>
We set the value for our data-name attribute to Van Gogh via JavaScript. We can see the new value being set, but we can go one level deeper and inspect the element to see for certain that the new value is what we see:
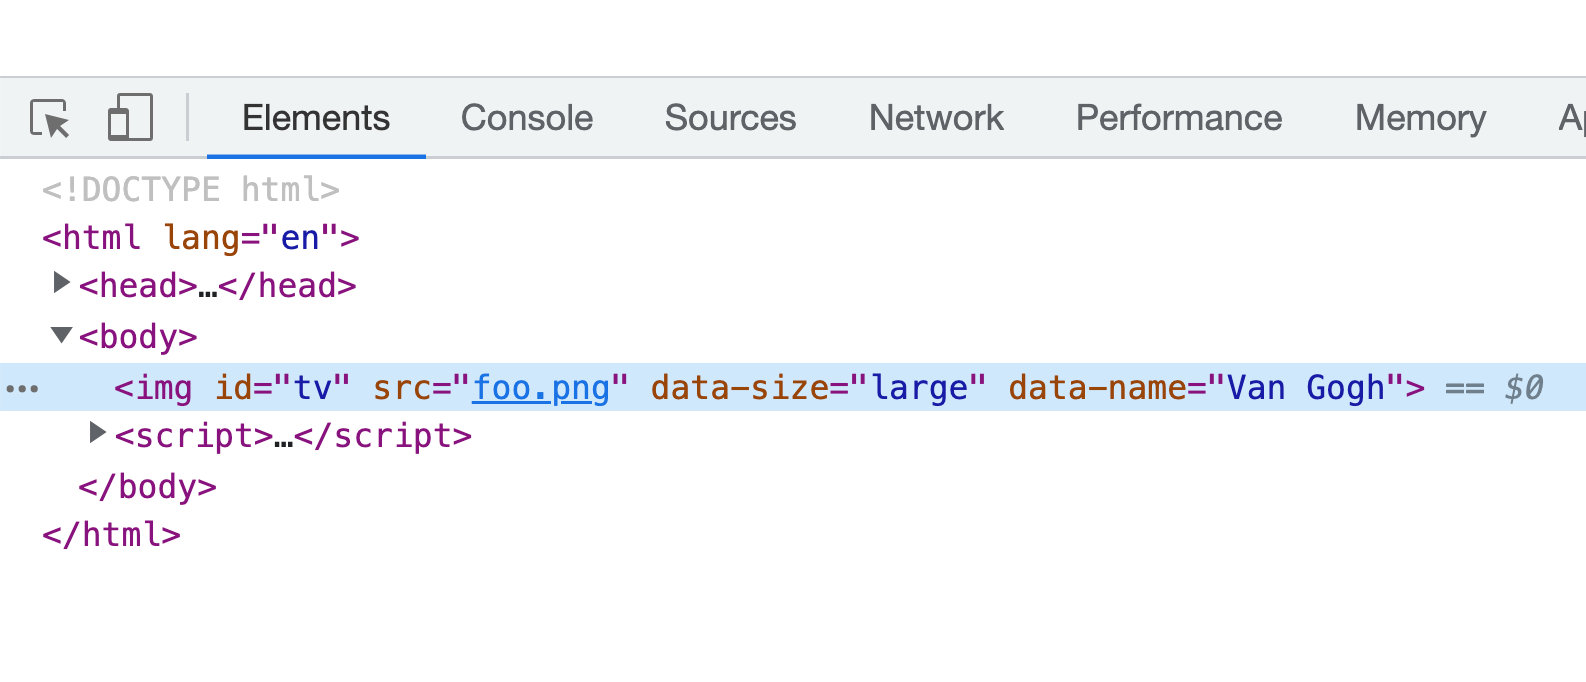
Pretty neat, right?
Now that you've seen all of this, a worthy next question to ask is when you should use these data-* attributes either in your HTML or setting it on the DOM via JavaScript. There are some amount of mixed opinions on this, but here is how I would summarize when you should or shouldn't use custom data attributes:
Who knew that something as simple as HTML attributes would take up this many words? The main takeaway is that we have a handful of helpful methods and properties in the DOM that make working with attributes fairly straightforward. The work on our end is to know how to use them and, as often is the case, know what they do when we are reading some code and we run into getAttribute, setAttribute, removeAttribute, or dataset.
Just a final word before we wrap up. If you have a question and/or want to be part of a friendly, collaborative community of over 220k other developers like yourself, post on the forums for a quick response!

:: Copyright KIRUPA 2024 //--