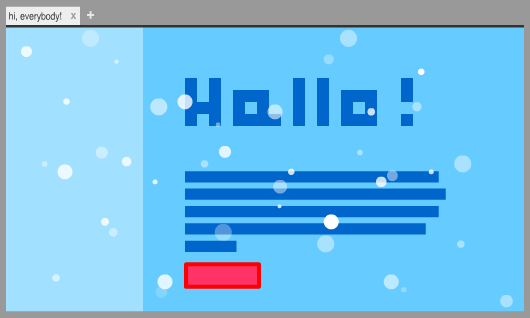
The Falling Snow Effect tutorial shows you how to write some HTML, CSS, and JavaScript to create falling snow. As it stands today, the snow effect causes the snowflakes to go over everything on the page:
A common question many of you have asked on the forums is how to constrain the falling snow to just a small region of the HTML page instead. Instead of the snow falling over everything, it falls over only a particular area. In this article, I will expand upon what the Falling Snow tutorial does by explaining the several approaches you have for constraining your falling snow code to a particular location.
Let's get started!
The way the falling snow tutorial works today is pretty simple. The snowflakes are nothing more than absolutely-positioned divs containing an asterisk. This simplicity works well when you want your snowflakes to go all over the page. It’s a problematic approach when you are trying to limit your snow effect to a particular area.
At a high level, you have three main ways of solving this. One way is by using frames. The other way is by using a technique known as masking. The other OTHER way is by drawing your snowflakes inside a canvas element that is perfectly positioned over the area you want the effect to animate on. Let's look at these three ways in greater detail.
The easiest yet most awkward way of solving this problem is to use the frame element (techically iframe). That's actually how Kirupa displays the effect on the tutorial page:
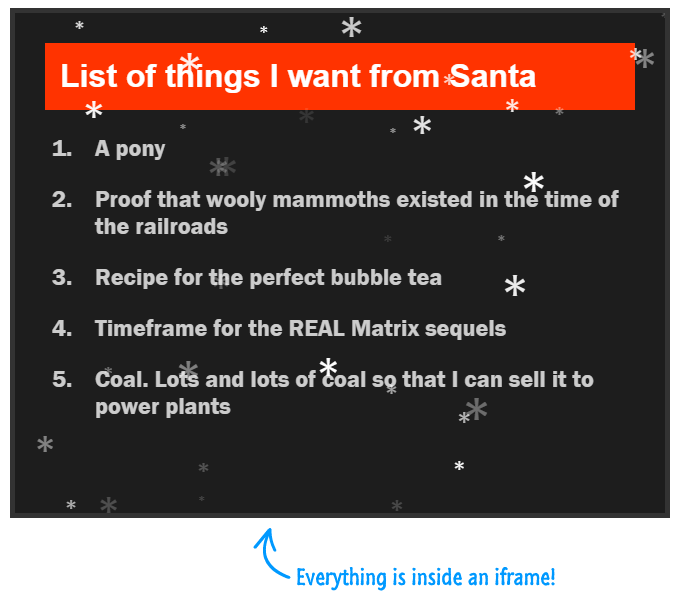
While this works and is pretty straightforward to implement, it’s not a great solution. All you are trying to do is overlay some falling snow over some area. That shouldn’t require you tinkering with your HTML in such an intrusive way. I wouldn’t recommend using a frame for this effect unless you want to commit to an unconventional approach...or you are Kirupa and that's how you generally display all of your tutorial examples :P
Let's look at the much better alternatives instead.
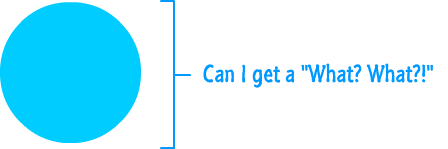
Those of you with an art or animation background probably know what masking means. Masking is a technique where you try to highlight something by using something else to remove unnecessary stuff. That answer seems very unsatisfying (and is probably not accurate!), so let's look at an example. For this example, you have two shapes:
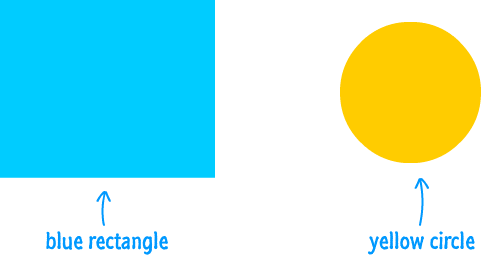
What you want to do is display everything inside the blue rectangle through the yellow circle's shape. If you overlay the circle over the rectangle, you get something that looks as follows:
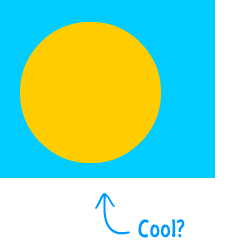
This isn't what we want, but we are kinda close. The trick is to have the contents of the blue rectangle show through the boundaries defined by the yellow circle. That trick is where masking comes in. When you mask these two shapes, what you get is as follows:
You get the desired result we were looking for. The blue rectangle's contents are viewed through the silhouette of the yellow circle.
Now, tying this back to what we are trying to do here, imagine that the blue rectangle is our falling snow effect. The yellow circle is the part of your page you want the falling snow to appear. If we created a mask, just like with our shapes here, you get the desired result of having your falling snow (blue rectangle) constrained to the region you actually want the snow to appear (yellow circle).
We accomplish that by relying on a friendly SVG (Scalable Vector Graphics) element. SVG is a graphical format that uses vectors to define lines and shapes and so on. What it brings to the table for our needs is that it allows you to do some level of masking. You can learn more about SVG Masking here, so we are going to just skip to the final implementation.
You can see an example of all this working at the following location. Just View Source on that page, copy, paste, and modify to replicate this functionality onto your own pages.
The third (and final!) approach uses the HTML canvas - the surface where you can programmatically draw and animate whatever you want. With this approach, the snowflakes that make up the falling snow will not be DOM elements. They will instead be shapes inside your canvas, and your canvas will be positioned exactly over the area you want your snow to fall over:
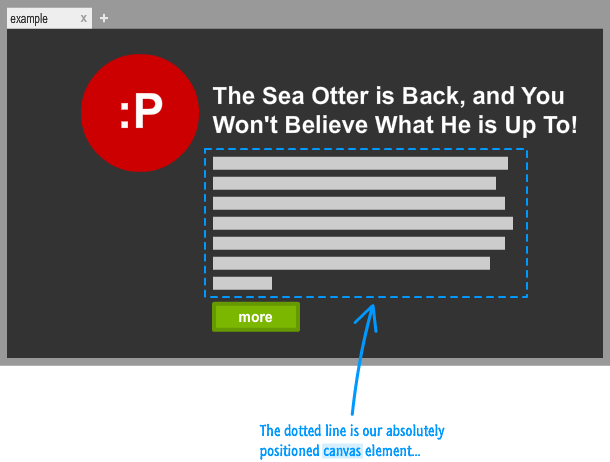
You can even pass input through the canvas by setting the pointer-events CSS property to none. This means you can position your falling snow wherever you want and still have any links (or other interactive stuff) under your canvas work just fine. Thus, you still get to maintain the overlay behavior of the original Falling Snow effect.
Go here for an example of the absolutely positioned canvas approach in action. The source contains everything you need to adapt this approach for your own needs.
There you have it, falling snow in box. Hope you enjoyed this augmentation of a great tutorial. In case you missed it, the three implementations that you can use are:
Cya around the forums.
 |
Kyle Murray aka krilnon |

:: Copyright KIRUPA 2024 //--