|
by
kirupa | 26 May 2009
In the
previous page, you saw the introduction
and created the basic UI that will power this
application. In this page, let's go further and
actually make your application work.
By default, all WPF applications you create are not set up
for files being dropped onto them. You have to explicitly
enable this on a per element
basis! What we are going to do next is allow files to be
dropped into our ListBox control. Make sure your ListBox is
selected, and from the Properties pane, search for the
AllowDrop property:
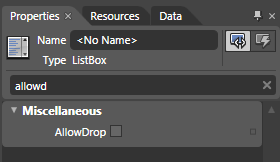
[ find the AllowDrop property on your ListBox ]
Once you have found the AllowDrop property, turn it On by
checking the checkbox next to it:
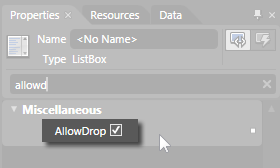
[ enable the AllowDrop property by checking it ]
If you are running a version of Expression Blend that is
older than Version 3, despite the AllowDrop property being
checked, there is a bug where what you see in the UI does
not map to what is written in the XAML. Make sure that the
XAML for your Listbox contains the
AllowDrop=true value:

If you are curious to see what the results of setting the
AllowDrop property are, run your application again by
pressing F5. This time, while your application is running,
drag some files from a folder and drop it onto your Listbox:
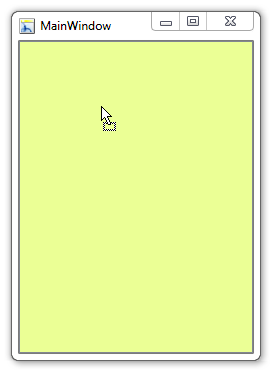
[ notice the cursor as I am trying to drop files
into it ]
While my above screenshot doesn't show me actually
dragging some files into the appllication, notice what my
mouse cursor looks like though. My mouse cursor is
indicating that what I am currently dragging over is a valid
drop target. This is something that you couldn't really do
before where you would have seen something like the
following with the no-operation cursor displayed:
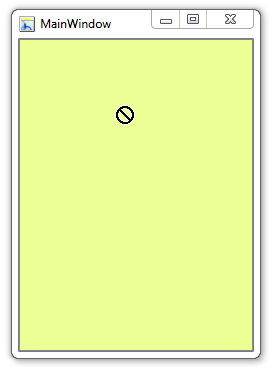
[ without drop enabled, your mouse cursor displays
the no-op sign ]
We are about half-way
done now. There is one more thing you need to do.
Our ListBox currently has no name, and you will need
a name for the coding portion later. So, let's just
go ahead and give your ListBox the name DropListBox:
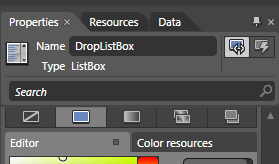
[ give your ListBox the name DropListBox ]
Ok, your application is now in a state where
it is capable of receiving content that is dropped
into it, and your ListBox now has a name. The next
half of this involves actually listening for when a
drop occurs and handling it appropriately, so let's
move on.
Now that our
application can have files dropped onto it, we need to
assign some
event handlers to deal with those events associated with
the drop operation. Inside Blend, with your Listbox still
selected, go to the Events list and find the Drop event:
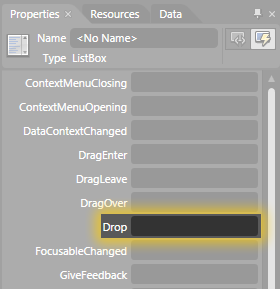
Once you have found the Drop
event, in the textbox right next to it, type in the name
FilesDropped and press Enter. Once you have
done this, you will suddenly find yourself either in Blend's
code editor in Visual Studio's code editor seeing something
that looks as follows:
- private
void
FilesDropped(object
sender,
DragEventArgs
e)
- {
-
- }
What you've just done is
associated your ListBox's Drop event with the FilesDropped
event handler. Whenever some file gets
dropped over your listbox, this FilesDropped method will get
called. Right now it doesn't do much, but we'll add the code
that makes it do things in the
next page.
Onwards to the
next page!
|


