|
by
kirupa | 11 October 2008
When you export a Silverlight project from
Deep Zoom
Composer, the size of your output is fixed at 800 by
600:
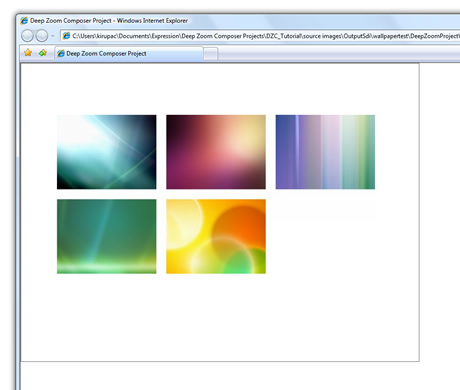
[ the size of your application
is fixed and does not scale depending on available
space ]
For many cases, that is a good size because it
presents a tradeoff between
how much is visible on the screen and how much
performance you are willing to use. There will be
cases, though, where you would want to increase the
size of the Silverlight application that Deep Zoom
Composer automatically generates.
To resize the template, go to the project folder
that Deep Zoom Composer generates for you. The
easiest way to access it is by clicking on the View
Project folder from the Export confirmation dialog
that appears after you export:
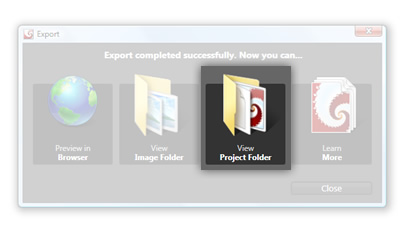
[ the View Project Folder button
provides you access to the template's source files ]
Your Project Folder will contain a Visual Studio
solution along with folders for your Silverlight
site and application. It is this solution that you
will open in Blend to change the fixed size.
This article discusses how to
create applications using Silverlight 2. If you do not know how to get started, the
Getting Started Page should help you get setup for Silverlight design and development.
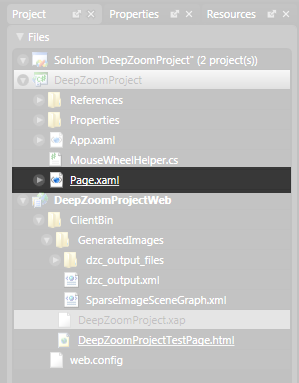
Open the DeepZoomProject
solution in Expression Blend. When you have it
opened, take a look at your Project Pane:
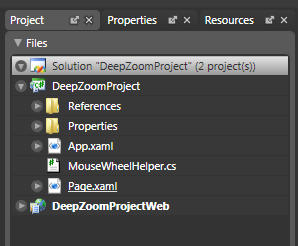
[ the Project panel provides you
a overview of your projects and files ]
Expand the DeepZoomProjectWeb icon and keep
expanding the folders until you hit the
DeepZoomProjectTestPage.html document. Right click
on that HTML file and set the Startup property on
it:
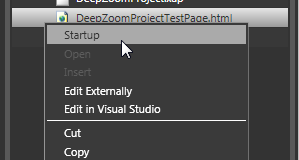
[ set your HTML page as the
Startup page ]
By setting the Startup flag on this HTML file,
you ensure that when you hit F5 to preview, you are
previewing the content from your Web Site and not
from your Silverlight application.
With your project
setup, it's time to get to the fun stuff of actually
resizing. From the Project pane that is currently
visible, look in the folder labeled DeepZoomProject
and open the Page.xaml file:
[ open Page.xaml to begin editing it (if it isn't
already displayed for editing )
When you open Page.xaml, you will see on your
design surface something that looks like a blank
page! Looks can be deceiving, for if you glance at
your Object Tree, you will actually see a handful of
controls being used:
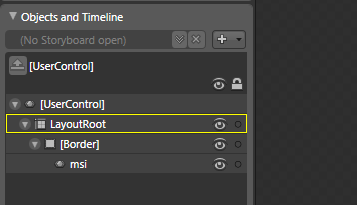
[
while your application may seem empty, it actually
has several controls ]
The controls that we want to modify are
UserControl, the control that all other controls bow
down to in Silverlight, and
msi - the
MultiScaleImage control responsible for displaying
your Deep Zoom content.
Select your UserControl from the Object Tree. In
your Properties Panel, look in the category marked
Layout. Change the Width and Height properties from
the currently fixed 800 and 600 numbers to Auto by
clicking on the Set to Auto button:
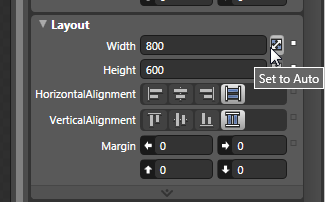
[
change the width and height to Auto by clicking on
the Set to Auto button ]
This will remove the fixed width and height your
Silverlight application is currently bound to. You
are about half-way done. From the Object Tree again,
select msi and look in the Layout
Category of the Properties Inspector just like you
did a few seconds ago.
Set the Width and Height to Auto from its fixed
size of 800 and 600 respectively. Once you have done
that, you will notice your design surface shrinks
almost everything down to a very small size:
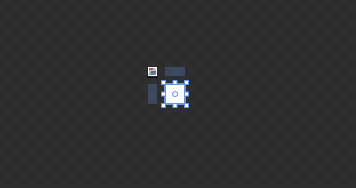
[
setting everything to Auto makes everything
seem smaller in this case ]
That is actually intentional because you now have
everything set to auto-resize, and you currently
have nothing in your application that takes up much
space. You can change this behavior by altering the
Design-Time Sizing value, and this article explains
how you can do that:
Design-Time Sizing in Blend.
Anyway, if you hit F5 now and preview the site in
your browser, you will notice that it takes up all
of the available space to display your content:
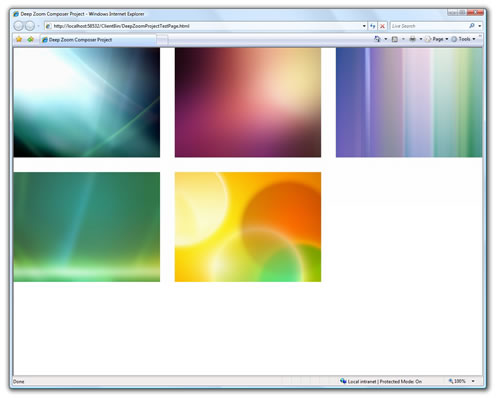
[
your application takes up all available space now ]
In this article, I showed you how to make your
Silverlight application take up all of the available
space. You can always change the values to a
different number if you want a fixed size other than
800 by 600 as well.
Just a final word before we wrap up. If you have a question and/or want to be part of a friendly, collaborative community of over 220k other developers like yourself, post on the forums for a quick response!

|


