|
by
kirupa | 7 November 2008
In the
previous page, you got a brief overview of what you will be doing,
and you downloaded the sample project I had created
to help you follow along with my instructions. In
this page, let's get a better understanding of the
animation that you will be modifying.
Before diving in
and writing some code, let's look at what the animation is actually
doing. The end result is easy. Your animation
changes the background gradient from one pair of
colors to another pair. How that is actually
represented is interesting.
In Blend, select the
ChangeColor storyboard by accessing
it via the Storyboard picker from the Objects and
Timeline panel:
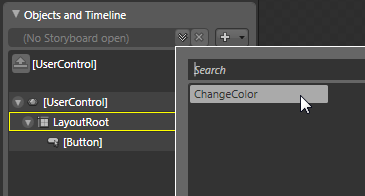
[ select your ChangeColor storyboard by accessing it
via the Storyboard picker ]
Once you have selected
your ChangeColor storyboard, you will find yourself
in the Timeline recording mode where you get to see
what the animation is actually doing. From here, if
you drag your playhead slider to the 1 second mark,
notice what your Brushes panel in the Properties
Inspector is showing:
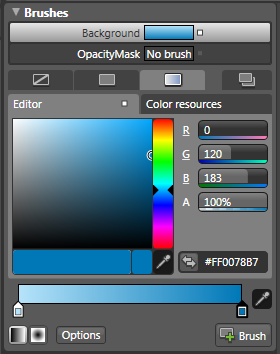
[ your Brushes panel shows you the colors that
you'll be animating to ]
You will have gone
from having a gray/white gradient to the light
blue/blue gradient you see in the above image. If
you change the gradient colors to something else and
test your application, you will see that your
animation fades into the new colors that you chose
when you click the Randomize Color button.
In most cases, this is all you would really need to
know about how to create or modify this animation.
As you can
guess, though, what you are attempting to do does
not fall under the "most cases" umbrella. Therefore,
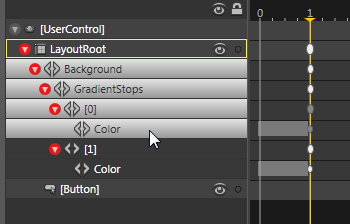
what I want you to focus on is the object tree:
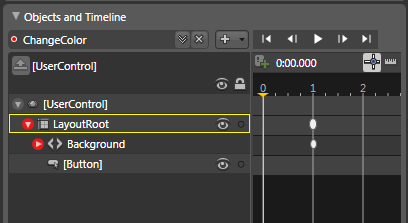
[ in the timeline recording mode, your object tree
emphasizes what is being animated ]
The red triangles in
the object tree indicate the element and its main
property that the animation is modifying. Keep
expanding the red triangles until you hit the last
node and can expand no more:
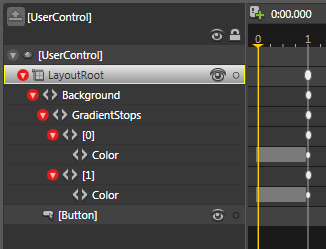
[ expand the properties until you hit both of the
Color nodes ]
What you are seeing is the expanded path to the
property whose value you are modifying. On the
surface, all you did was change your gradient
colors in the Brushes panel. Under the hood, that simple gradient color
change is is actually a fairly complex path that
ends at the two Color properties you see.
Make sure your playhead slider is at the 1 second
mark and
select the first Color property under the [0] node
as shown below:
[ select the first Color node ]
Once you have selected that Color property, take
a look at what you see in your Properties Inspector.
You will see an entry for just the first color from
the gradient you had in the Brushes panel before:

[ the first Color corresponds to the first color in
your gradient ]
Isn't it pretty cool how you can micro in on the
keyframe and the actual value of the property that
is being modified?! Anyway, not everything in this page
is just sightseeing. In the Name field, give
this color the name Color0:
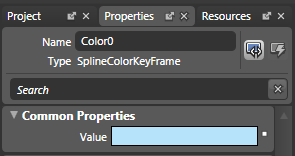
[ give this keyframe the name Color0
]
Repeat what you just did for your second gradient
color. In your object tree, click on the Color
property under [1]:

[ select the second Color property in your Object
Tree ]
In your Properties Inspector, in the Name field,
give this color the name Color1:
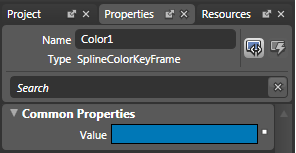
[ give this color the name Color1 ]
What you have just done is given each of the
keyframes representing your two gradient colors a
name. By giving them a name, you make it easier to
access them via code as you will see shortly on the
next page.
Onwards to the
next page!
|


