|
by
kirupa | 3 May 2010
In the
previous page, you took the Sample Data
that you created and visualized it on your artboard.
After that, we started looking a bit under the
covers of why your Sample Data looks the way it
does. In this page, let's dig a bit deeper and make
a few more changes to see how changing a property
will affect your Sample Data.
Right now, your
Sample Data has two properties lovingly (and
automatically) named Property1 and Property2.
Property1 is of type String and Property2 is of type
Boolean.
The Boolean property seems a bit out of place
with what we are trying to do, so let's change that.
Just as before, click on the icon found to the right
of the Property2 row:

[ this menu should be familiar to you by now ]
From the menu that appears, click on the Type
drop-down and select String:

[ change the type of this property to String
]
Once you have selected String, you will see some
settings that allows you to customize your String
data a bit more:
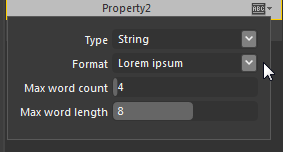
[ the property you see depend on the Type and Format
you have selected ]
Click on the Format drop-down and select Price.
Once you select Price, this menu will look as
follows:
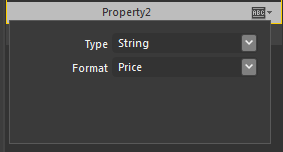
[ we want to display Price information ]
Once have applied this setting, click away to
apply this setting. Now that this change has been
made, take a look at your ListBox whose data values
are partly populated from this Property2 property
that you just modified:
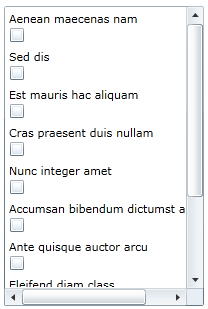
[ behold the new and improved data! ]
Hmm. It seems like nothing has changed! If you
came to that conclusion as well, you are right. The
reason is that we haven't actually told our ListBox
to use the new and improved version of the sample
data. Your listbox is pretty happy using an older
version of your data.
What we need to do is overwrite the existing data
with the revised data. You can do that easily by dragging
your Collection field from the Sample Data panel and
dropping it on your ListBox:
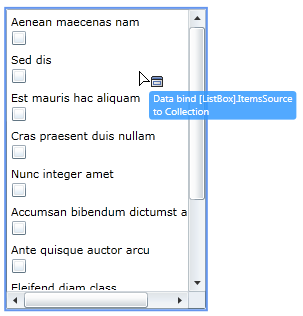
[ drag the Collection and drop it onto your ListBox
]
When you drop a Collection onto a ListBox (or
another equivalent control that has an ItemsSource),
the existing data is replaced with data from the
Collection you are dropping. After you drop the
Collection that contains the changes you made to
Property2, your ListBox would now look as follows:
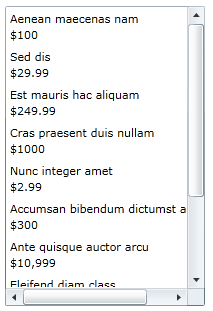
[ the checkboxes have now been replaced with price
values ]
Notice that what used to be checkboxes
(corresponding to the Boolean property) have now
been replaced with simple text fields that
correspond to Price values. Wohoo!
Your ListBox is getting a bit closer to looking
like the example I showed you on the
first page. In the
next page, let's go a step
further and add another property to display some
images.
Onwards to the
next page!
|


