|
by
kirupa | 2 November 2008
In the
previous page,
we left off with you having a blue circle ready for
animating on your artboard. In this page, let's
continue by creating the animation.
The following steps
will explain how to create the animation where your
circle slides to the right and scales larger just
like in my example:
-
Make sure your
circle is selected, and glance over at the
Objects and Timeline panel. Click on the Plus
button to create a new Storyboard:
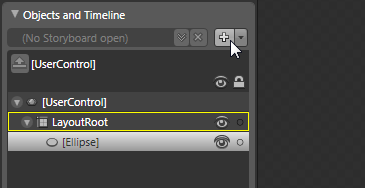
[ animations are stored in Storyboards, so you will
need to create one ]
-
Once you have
clicked the Plus button, the Create Storyboard
Resource dialog will appear. In this dialog,
change your value in the Name (Key) field from
Storyboard1 to MyAnimation:
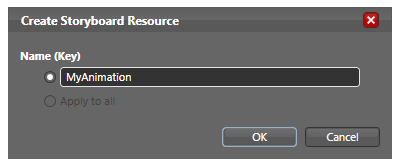
[ give your Storyboard the name MyAnimation ]
After entering MyAnimation as your Storyboard's
name, click on the OK button to close this dialog.
-
Right now, you
will be in what is known as the Timeline
recording mode where every action that you
perform registers a keyframe on a timeline.
Your Objects
and Timeline panel will also change to display a
timeline itself:
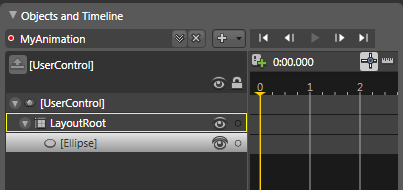
[ you are now in the Timeline recording mode ]
-
Make
sure your Ellipse object, your blue circle, is
selected. Click on the yellow playhead and drag it to the 2 second mark
in your timeline:

[ drag your playhead to the 2 second mark ]
-
Once you have
dragged the playhead to the 2 second mark, go
back to your artboard and move your blue circle to
the right a bit.
[ move your blue circle to the right a bit ]
-
After you moved
the blue circle even a tiny bit, a keyframe will
have been inserted for you at the 2 second mark:

[ a keyframe has now been recorded for you at the 2
second mark ]
If
you drag your playhead back and forth from the 0
second mark to your 2 second mark, you will also see
the interpolated position of your circle at the time
your playhead is currently in.
-
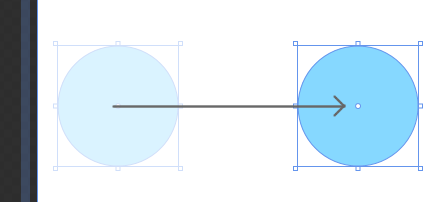
Anyway, we also
want to scale our circle as it slides to the
right. Move your playhead back to the 2 second
position, go back to your artboard, and scale
your circle larger:
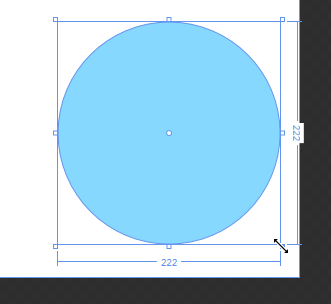
[ scale your circle to become larger ]
If you hold down both the Shift and Alt keys when
resizing, you will ensure that the width and height
of your circle are kept the same, and you will also
grow outward from the center of the circle instead
of the top-left corner.
-
If you slide your
playhead back and forth again, this time, you
will see your circle not only sliding, but you
will also see it growing in size.
Wow - you made quite a
bit of progress on this page. You took your static
circle and created an animation out of it where your
circle slides and grows larger. We aren't done just
yet. We need to add one line of code to have your
storyboard play when your application loads. I will
cover that and wrap up this tutorial on the
next
page.
Onwards to the
next
page!
|


